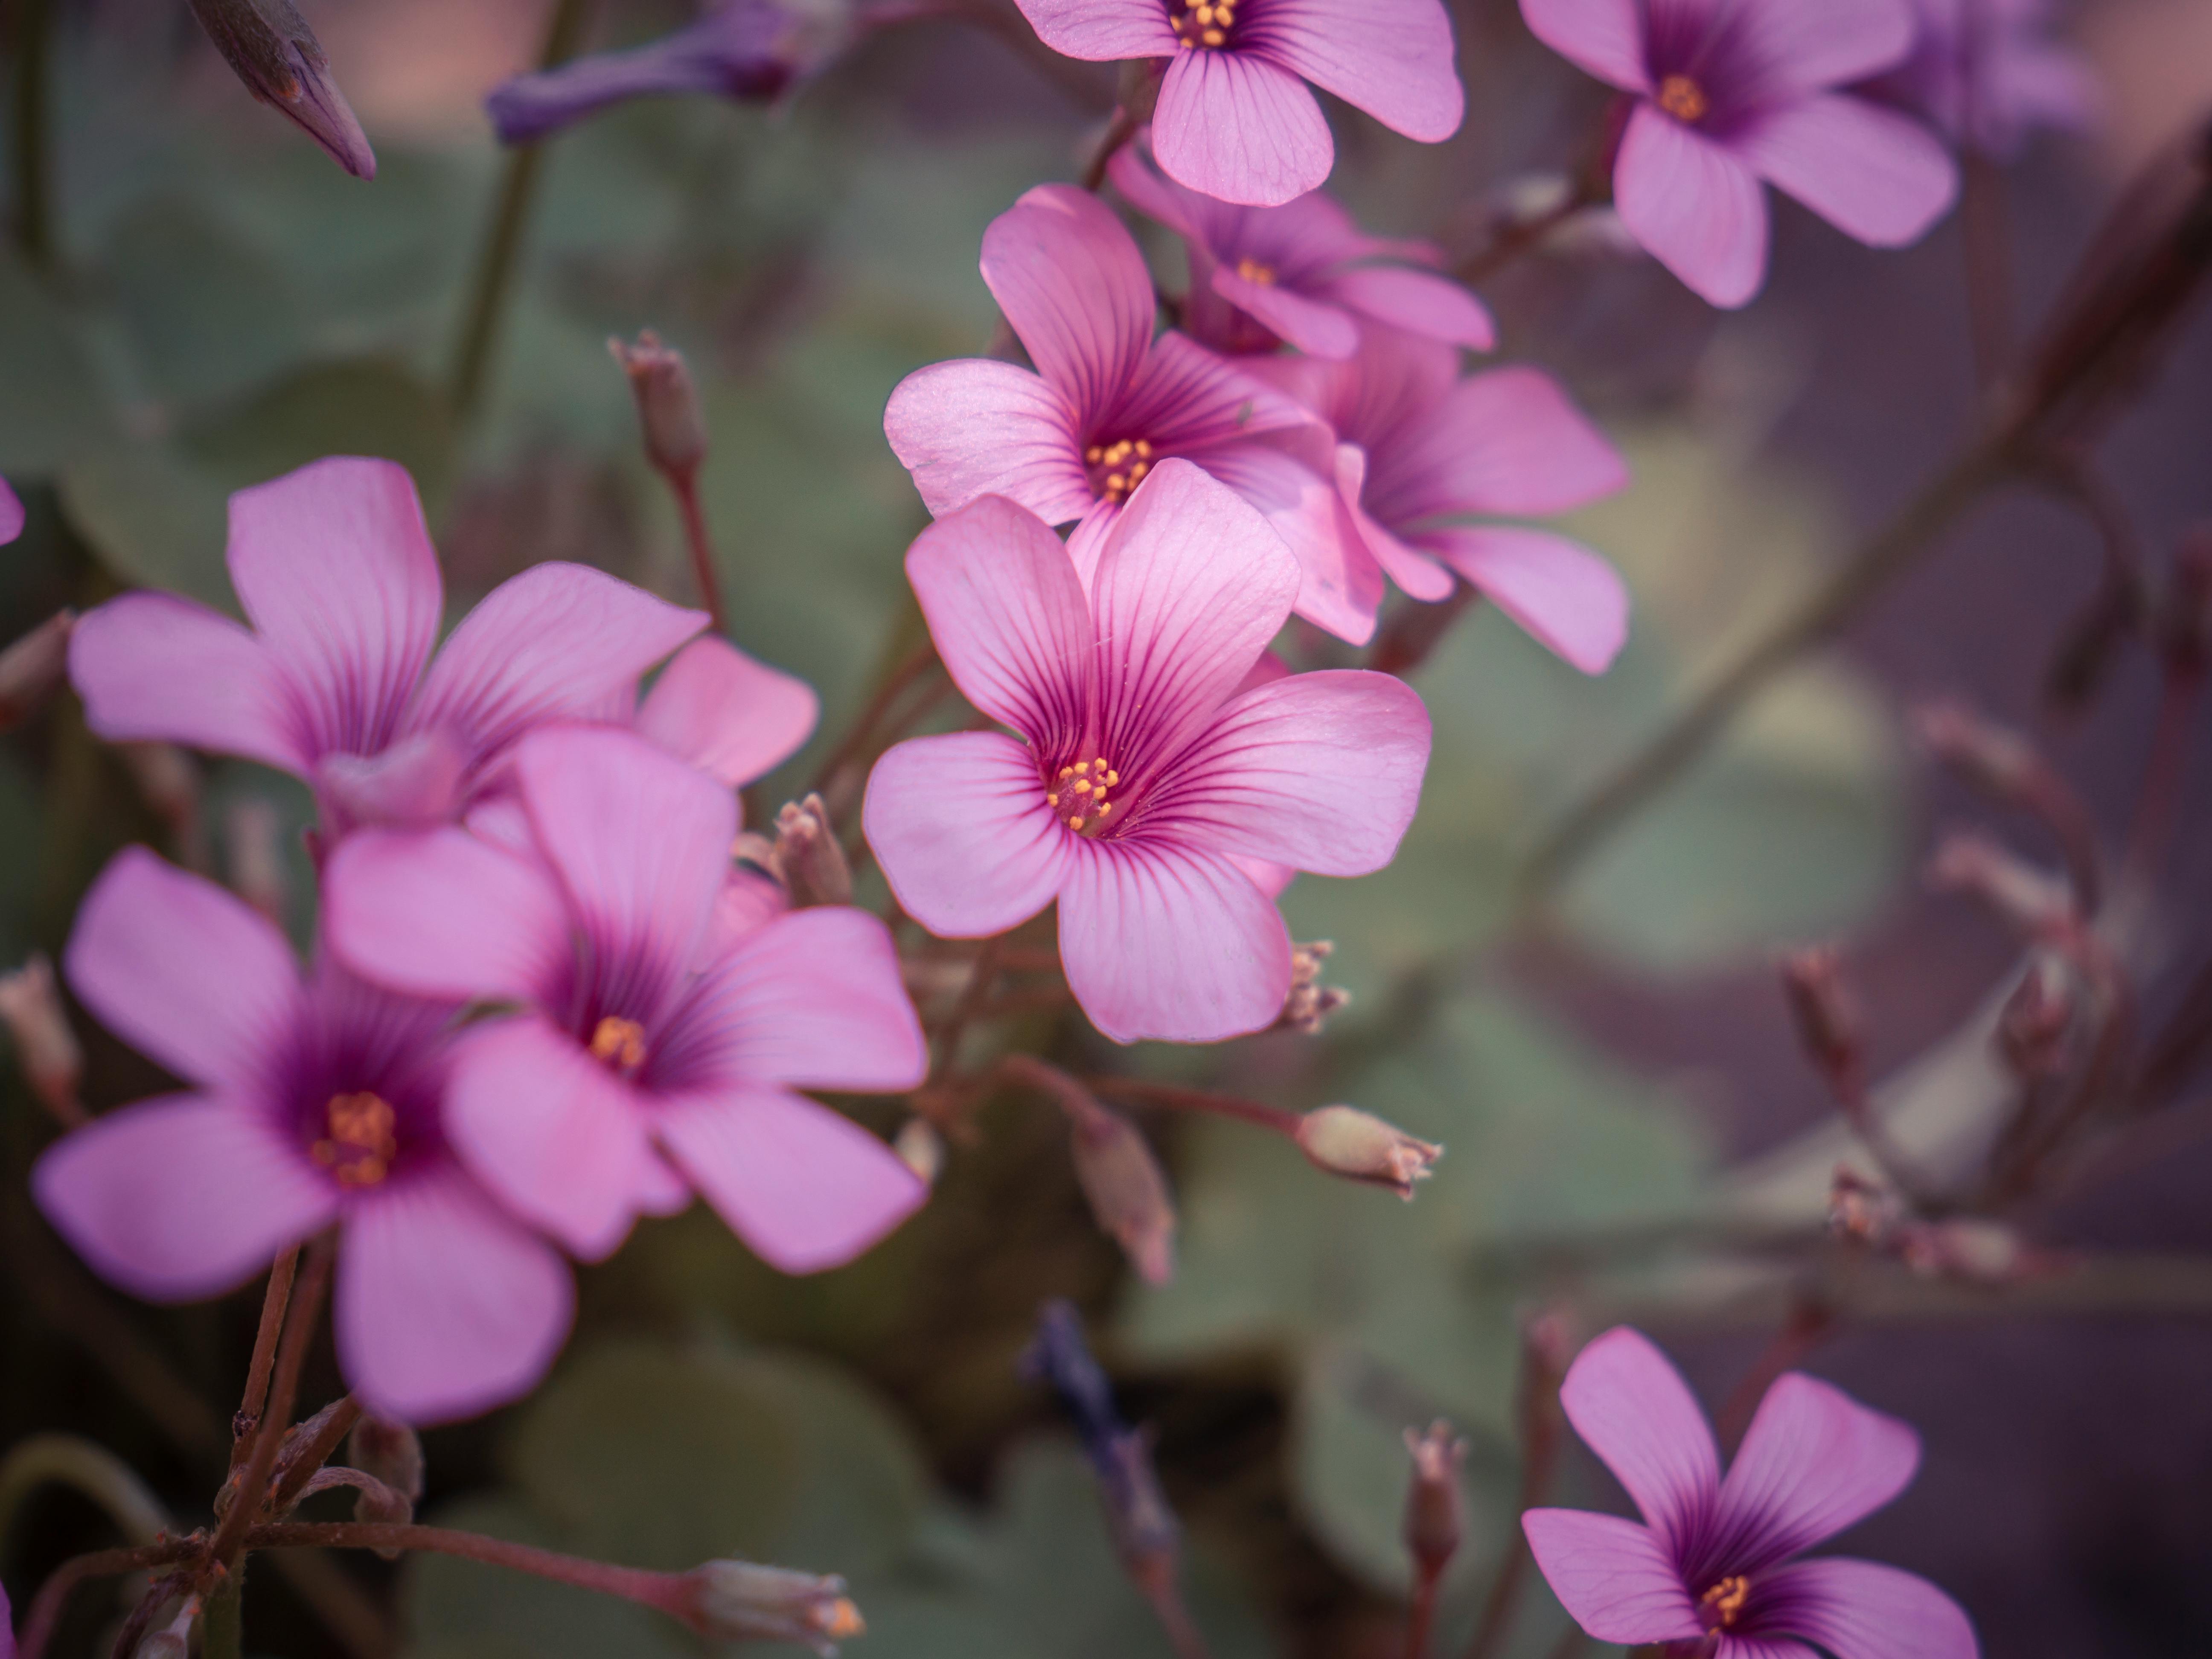
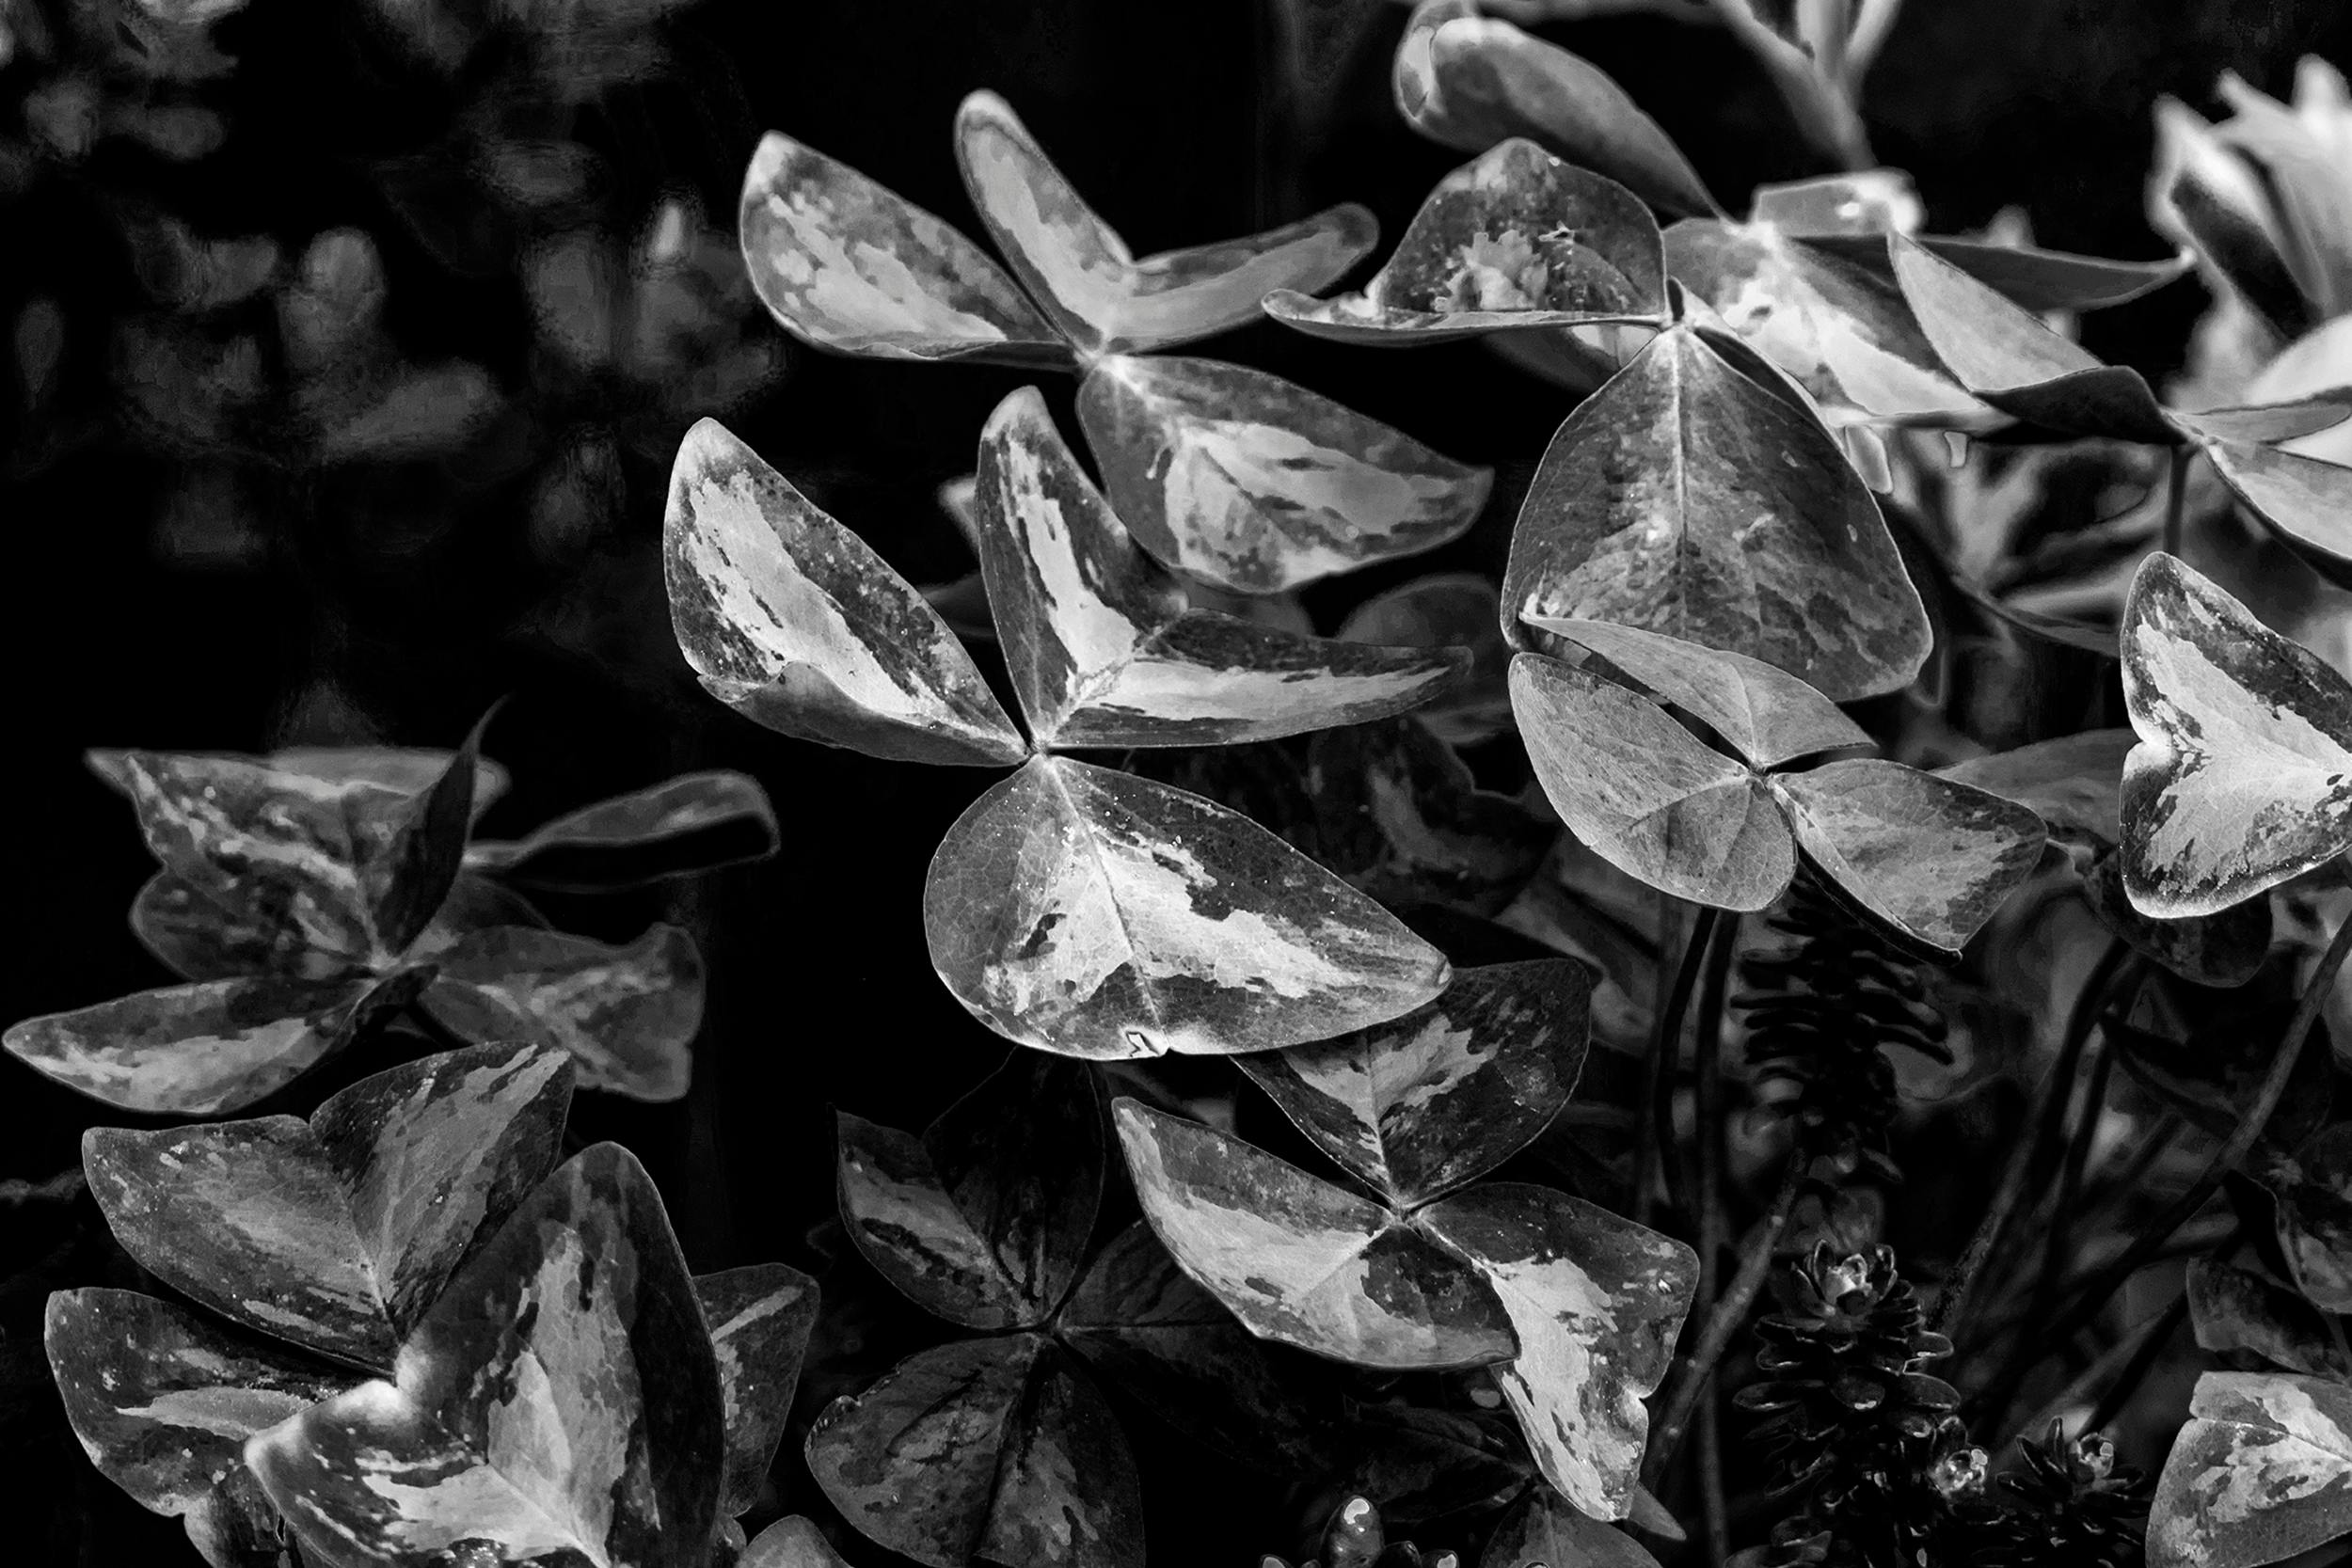
Oxalis bulbs are a great addition to any garden. They are easy to care for and produce vibrant, colorful flowers throughout the season. Planting oxalis bulbs is a simple task that can be done by anyone with a bit of gardening know-how. This guide will provide you with step-by-step instructions on how to plant oxalis bulbs for the best results.Oxalis bulbs are small, bulb-like structures that are the underground stems of some species of the Oxalis plant. They are made up of layers of fleshy leaves and can be planted in soil to produce new plants. Oxalis bulbs can also be propagated through division.
Preparing the Planting Area for Oxalis Bulbs
Preparing the planting area for oxalis bulbs is an important part of successful gardening. There are several steps you need to take to ensure that your oxalis bulbs have the ideal conditions for growth and blooming. The first step is to select an appropriate location for your oxalis bulbs. They prefer a sunny spot with well-drained soil. You should also avoid areas that are prone to standing water or flooding as this can cause the bulbs to rot. Once you have chosen a suitable spot, it is time to prepare the soil.
Oxalis bulbs require well-draining soil that is enriched with organic matter such as compost or manure. If possible, add a layer of mulch on top of the soil to help retain moisture and keep weeds at bay. After adding any amendments, till or dig the soil until it is loose and crumbly, making sure there are no large clumps of dirt or debris. Once you have finished preparing the planting area, it’s time to plant your oxalis bulbs!
Soil for Planting Oxalis Bulbs
Oxalis bulbs require soil that is well-draining. Choose a bagged, pre-fertilized potting mix or mix your own blend of two parts peat moss, two parts perlite and one part vermiculite. Add a handful of compost to the soil to provide additional nutrients. Make sure the pH level of your soil is between 6.0 and 7.0 for optimal growth.
Containers for Planting Oxalis Bulbs
Oxalis bulbs are typically planted in shallow pots with drainage holes on the bottom so the soil does not become oversaturated with water. Any type of container will do, as long as it is at least 5 inches deep, has enough room for several bulbs and has drainage holes in the bottom.
Watering Oxalis Bulbs
Oxalis bulbs require regular watering to survive. Keep the soil moist but not soggy. Water when the top inch or two of soil feels dry to the touch. If you are unsure if your Oxalis needs water, stick your finger into the soil up to your knuckle—if it is dry at that depth, it needs more water.
Fertilizing Oxalis Bulbs
Fertilize your Oxalis plants once every three weeks with a balanced liquid fertilizer diluted according to package instructions. Avoid over-fertilizing, as this can damage the roots and leaves.
Light Requirements for Planting Oxalis Bulbs
Oxalis bulbs prefer filtered sun or partial shade; too much direct sunlight can burn their foliage. When grown indoors, place them near an east-facing window to get direct morning sunlight but indirect light throughout the day.
Planting Oxalis Bulbs
Oxalis bulbs are known for their bright yellow and purple flowers. Planting oxalis bulbs is easy and will provide you with a beautiful, low-maintenance garden. Here are the steps to planting oxalis bulbs:
1. Select the right area for planting. Oxalis bulbs prefer partial sunlight and well-drained soil. Choose a spot that gets some sun in the morning, but is shaded from the afternoon sun.
2. Prepare the soil for planting. Dig a hole that is twice as deep as the bulb is tall, and mix in some compost or manure to provide extra nutrients for the bulb to grow in.
3. Plant the oxalis bulb in the hole with its pointed end facing up, then fill in around it with soil and press down lightly so it’s secure in place.
4. Water your planted oxalis bulb immediately after planting, then water regularly throughout the season to keep it moist but not soggy.
5. Fertilize your oxalis bulbs during their growing season with a balanced fertilizer that is suitable for flowering plants like oxalis bulbs.
6. Deadhead spent blooms regularly to encourage more blooms and keep your oxalis looking its best all season long!
How Deep to Plant Oxalis Bulbs
Oxalis bulbs should be planted at a depth of about 4 to 6 inches (10 to 15 cm). The soil should be loose and well-drained, with a pH between 5.5 and 7.0. The bulbs should be spaced 8 to 12 inches (20 to 30 cm) apart. When planting the bulbs, it is important to keep the soil moist but not soggy, as too much water can cause the bulbs to rot. After planting, mulch with an organic material such as bark or wood chips to help retain moisture and discourage weeds. Water the bulbs every two weeks during the growing season and fertilize every four weeks with a balanced fertilizer.

Watering and Caring for Oxalis Bulbs
Caring for Oxalis bulbs is relatively easy, as long as you follow a few key guidelines. The most important part of caring for Oxalis bulbs is to provide them with the right amount of water. Oxalis bulbs need to be kept moist but not overly wet, so avoid overwatering them. Water your Oxalis bulbs regularly, but allow the soil to dry out between waterings. If you are growing your Oxalis indoors, you should water them twice a week. If you are growing your Oxalis outdoors, they may need to be watered more frequently depending on the weather conditions.
In addition to watering correctly, it is also important to fertilize your Oxalis bulbs regularly. Use a fertilizer that is specifically designed for bulbs and apply it according to the instructions on the package. Fertilizing your Oxalis bulbs will help ensure that they get all of the nutrients they need in order to thrive.
Finally, make sure that your Oxalis bulbs are planted in well-drained soil. Poorly drained soil can cause the roots of your plants to rot, so make sure that your planting area has adequate drainage before planting your bulbs. Once planted, be sure to keep an eye on them and check for any signs of distress such as wilting or yellowing leaves. If you notice any signs of distress, take action quickly by providing additional water or making adjustments to the soil drainage if necessary.
Fertilizing Your Newly Planted Oxalis Bulbs
Fertilizing your newly planted Oxalis bulbs is an important step in ensuring that the plants thrive and flourish throughout the growing season. When applying fertilizer to your Oxalis bulbs, use a balanced, water-soluble fertilizer that contains all three major elements: nitrogen, phosphorus and potassium. Make sure to follow the manufacturer’s directions for application rates and timing.
It is best to fertilize your Oxalis bulbs in early spring, just after they have begun to sprout. This will give them a boost of nutrients to help them establish themselves in the new soil. You can also apply a light application of fertilizer every few weeks throughout the growing season. Keep in mind that over-fertilization can cause over-growth and foliage burn, so be sure not to overdo it.
If you are using a liquid fertilizer, mix it with water before applying it around the base of your Oxalis bulbs. Make sure that you do not get any of the liquid fertilizer on the foliage of your plants as this could cause burning or other damage. Once applied, water your plants deeply so that the fertilizer can be absorbed into the soil around them.
In addition to applying liquid fertilizers, you can also use slow-release granular fertilizers around your Oxalis bulbs at planting time or during spring growth. These types of fertilizers slowly release their nutrients into the soil over time, providing a steady supply of nutrients for your plants throughout the growing season without having to reapply multiple times.
Fertilizing your newly planted Oxalis bulbs is an important part of ensuring healthy growth for these beautiful plants. Follow these tips for successful fertilization and you should have healthy, vibrant Oxalis plants all season long!
Controlling Weeds Around Your Planted Oxalis Bulbs
Weeds can be a real nuisance when it comes to caring for your Oxalis bulbs. They can rob your bulbs of vital nutrients, water and sunlight, all of which are necessary for healthy growth. Luckily, there are several ways to control weeds around your Oxalis bulbs without using harsh chemicals.
One of the simplest ways to keep weeds out of your Oxalis beds is by using mulch. Mulching helps to smother any existing weeds and prevents new ones from sprouting up. It also helps to retain moisture in the soil and moderates soil temperature, which can be beneficial for your Oxalis bulbs during periods of extreme weather. Make sure that the mulch you use is organic and free of any weed seeds or herbicides that could damage your plants.
Weed barriers are another effective way to control weeds in an Oxalis bed. These barriers prevent light from reaching the ground, which in turn prevents weed seeds from germinating. They also help to keep the soil moist by preventing evaporation during hot days. You can purchase pre-made weed barriers at most garden centers or make one yourself using burlap or landscape fabric secured with stakes or pins.
Hand-weeding is probably the most labor-intensive method of controlling weeds around Oxalis bulbs, but it is also one of the most effective ways to keep your beds free from unwanted plants. Make sure you get rid of all visible roots and rhizomes when weeding, as these may still be able to sprout new plants even after being pulled up.
Finally, you can try using an organic herbicide like vinegar or boiling water to kill off existing weeds in an Oxalis bed without damaging the bulbs themselves. Vinegar should be applied directly onto the leaves of any unwanted plants, while boiling water should be poured directly onto their root systems. Be sure not to overwater the area after applying either substance in order to avoid damaging your Oxalis bulbs.
With a little bit of effort and consistency, you can easily keep your Oxalis beds free from pesky weeds so that they will thrive and flower beautifully!

Conclusion
Oxalis bulbs are a great addition to any garden. They are easy to plant, require minimal maintenance and can add a burst of colour to any garden. Planting oxalis bulbs is an inexpensive way to add some beauty and interest to your garden. The key is to keep the soil moist, but not wet, and provide plenty of sunlight for the bulbs to flourish. With a little bit of care and attention, you can enjoy a beautiful display of oxalis blooms in your garden for many years to come.
Oxalis bulbs are also great for indoor containers or hanging baskets. When planted indoors, make sure the container has plenty of drainage holes and that the soil is kept moist but not wet. You should also provide plenty of light for the plants to grow and bloom properly. With just a little bit of effort, you can have vibrant blooms popping up in your home or office all year long.
In conclusion, planting oxalis bulbs is a great way to add colour and vibrancy to any garden or indoor container. With careful consideration of the soil type, moisture level and light requirements, you will be rewarded with months of beautiful blooms that will last for many years to come.

