Planting bare root perennials is a great way to add color and texture to your garden. Bare root perennials are plants that are sold without soil on their roots. They are often less expensive than potted perennials and can be planted at any time of year, depending on the climate. Planting bare root perennials is a fairly simple process that can be done with minimal effort. This article will provide step-by-step instructions on how to properly plant bare root perennials in your garden.Bare root perennials are plants that are sold and planted without soil around their roots. They are typically dormant and have been grown in a nursery and dug up just before shipping. These perennials can be planted at any time of year, as long as the ground is not frozen or too wet. Planting bare root perennials can be more economical than buying potted perennials since they don’t require as much packaging material.
Choosing the Right Location for Planting Bare Root Perennials
When you are ready to plant your bare root perennials, it is important to choose the right location. You want to make sure that the location has enough light and moisture for your plants to thrive. In addition, you need to make sure that the soil is well-draining and has plenty of organic matter. Here are some tips for choosing the right location for planting bare root perennials:
First, consider the amount of sunlight that will reach the area where you plan to plant. Most perennials need at least 6 hours of direct sunlight each day in order for them to grow properly. If your garden is shaded, consider planting shade-tolerant varieties instead. Additionally, if your garden is in a windy area, be sure to protect your plants from strong gusts by providing a windbreak or placing them in an area sheltered from the wind.
Second, make sure that the soil in the planting site drains well. Poor drainage can cause roots to rot and may lead to fungal diseases or other problems. To check soil drainage, dig a hole about 8 inches deep and fill it with water. If it takes more than an hour for all of the water to drain out, then you should look for another location with better drainage.
Finally, add plenty of organic matter such as compost or aged manure before planting. This will help increase soil fertility and provide essential nutrients for your perennials. Once you have chosen a suitable spot and amended the soil, you can start planting your bare root perennials!
Preparing the Soil for Planting Bare Root Perennials
Preparing the soil for planting bare root perennials is an essential step in ensuring that your plants thrive. The soil must be well-drained, loose and enriched with organic matter to provide the necessary nutrients for healthy growth. It is also important to prepare the soil by removing any weeds or debris, and loosening it up with a shovel or spade. If the soil is compacted, it may need to be amended with organic material such as compost or manure in order to improve its structure. This will also help retain moisture and nutrients needed for healthy growth. Once you have prepared the soil, it is time to plant your perennials. Be sure to follow any planting instructions provided with your plants, as some may require a different depth of planting than others. After planting, water thoroughly and mulch around the plants to help retain moisture and reduce weeds.
When planting bare root perennials in containers, it is important to use a potting mix that drains well and contains plenty of organic matter. A good mix should contain equal parts of peat moss, compost, and perlite or vermiculite. Before planting your perennials in containers, make sure that they are getting adequate drainage by adding additional perlite or vermiculite if needed. It is also important to use a suitable potting mix for your specific type of perennial; some may require more sand than others.
When planting bare root perennials directly into the ground, it is important to check the soil pH level before doing so. This can be done easily using a pH testing kit available from most garden centers or nurseries. The ideal range for most perennial plants is between 6-7 on the pH scale; if yours falls outside this range you may need to add lime or sulfur to adjust it accordingly.
Finally, once you have prepared your soil and planted your bare root perennials correctly, keep them watered regularly throughout their growing season and fertilize them as appropriate according to their individual needs. With proper care and attention they should thrive in their new home!
Unpacking the Perennials
When you receive your bare root perennials, you should take them out of the packaging as soon as possible. Inspect them for signs of damage or disease and discard any damaged roots. Make sure to check for any additional instructions that may have been included in the packaging. After unpacking your perennials, it is important to get them into water right away.
Soaking the Bare Roots
Once your bare root perennials are unpacked, you should soak them in a bucket of lukewarm water for several hours before planting. This helps to rehydrate the roots and ensure that they are ready for planting. You can also add a bit of fertilizer or compost tea to the water if desired. Once they have had time to soak, they are ready to be planted in your garden.
Planting the Bare Root Perennials
Bare root perennials are a great way to add color and texture to your garden. They are relatively easy to plant and require minimal care once established. Before planting, it is important to select the right location for your perennial plants. Choose a spot that receives at least six hours of direct sunlight each day and has well-drained soil.
When planting bare root perennials, it is important to prepare the soil before placing the plants in the ground. Begin by loosening the soil with a spade or shovel, then mix in some organic matter such as compost or aged manure. This will help ensure that the plants are able to access all of the nutrients they need for healthy growth.
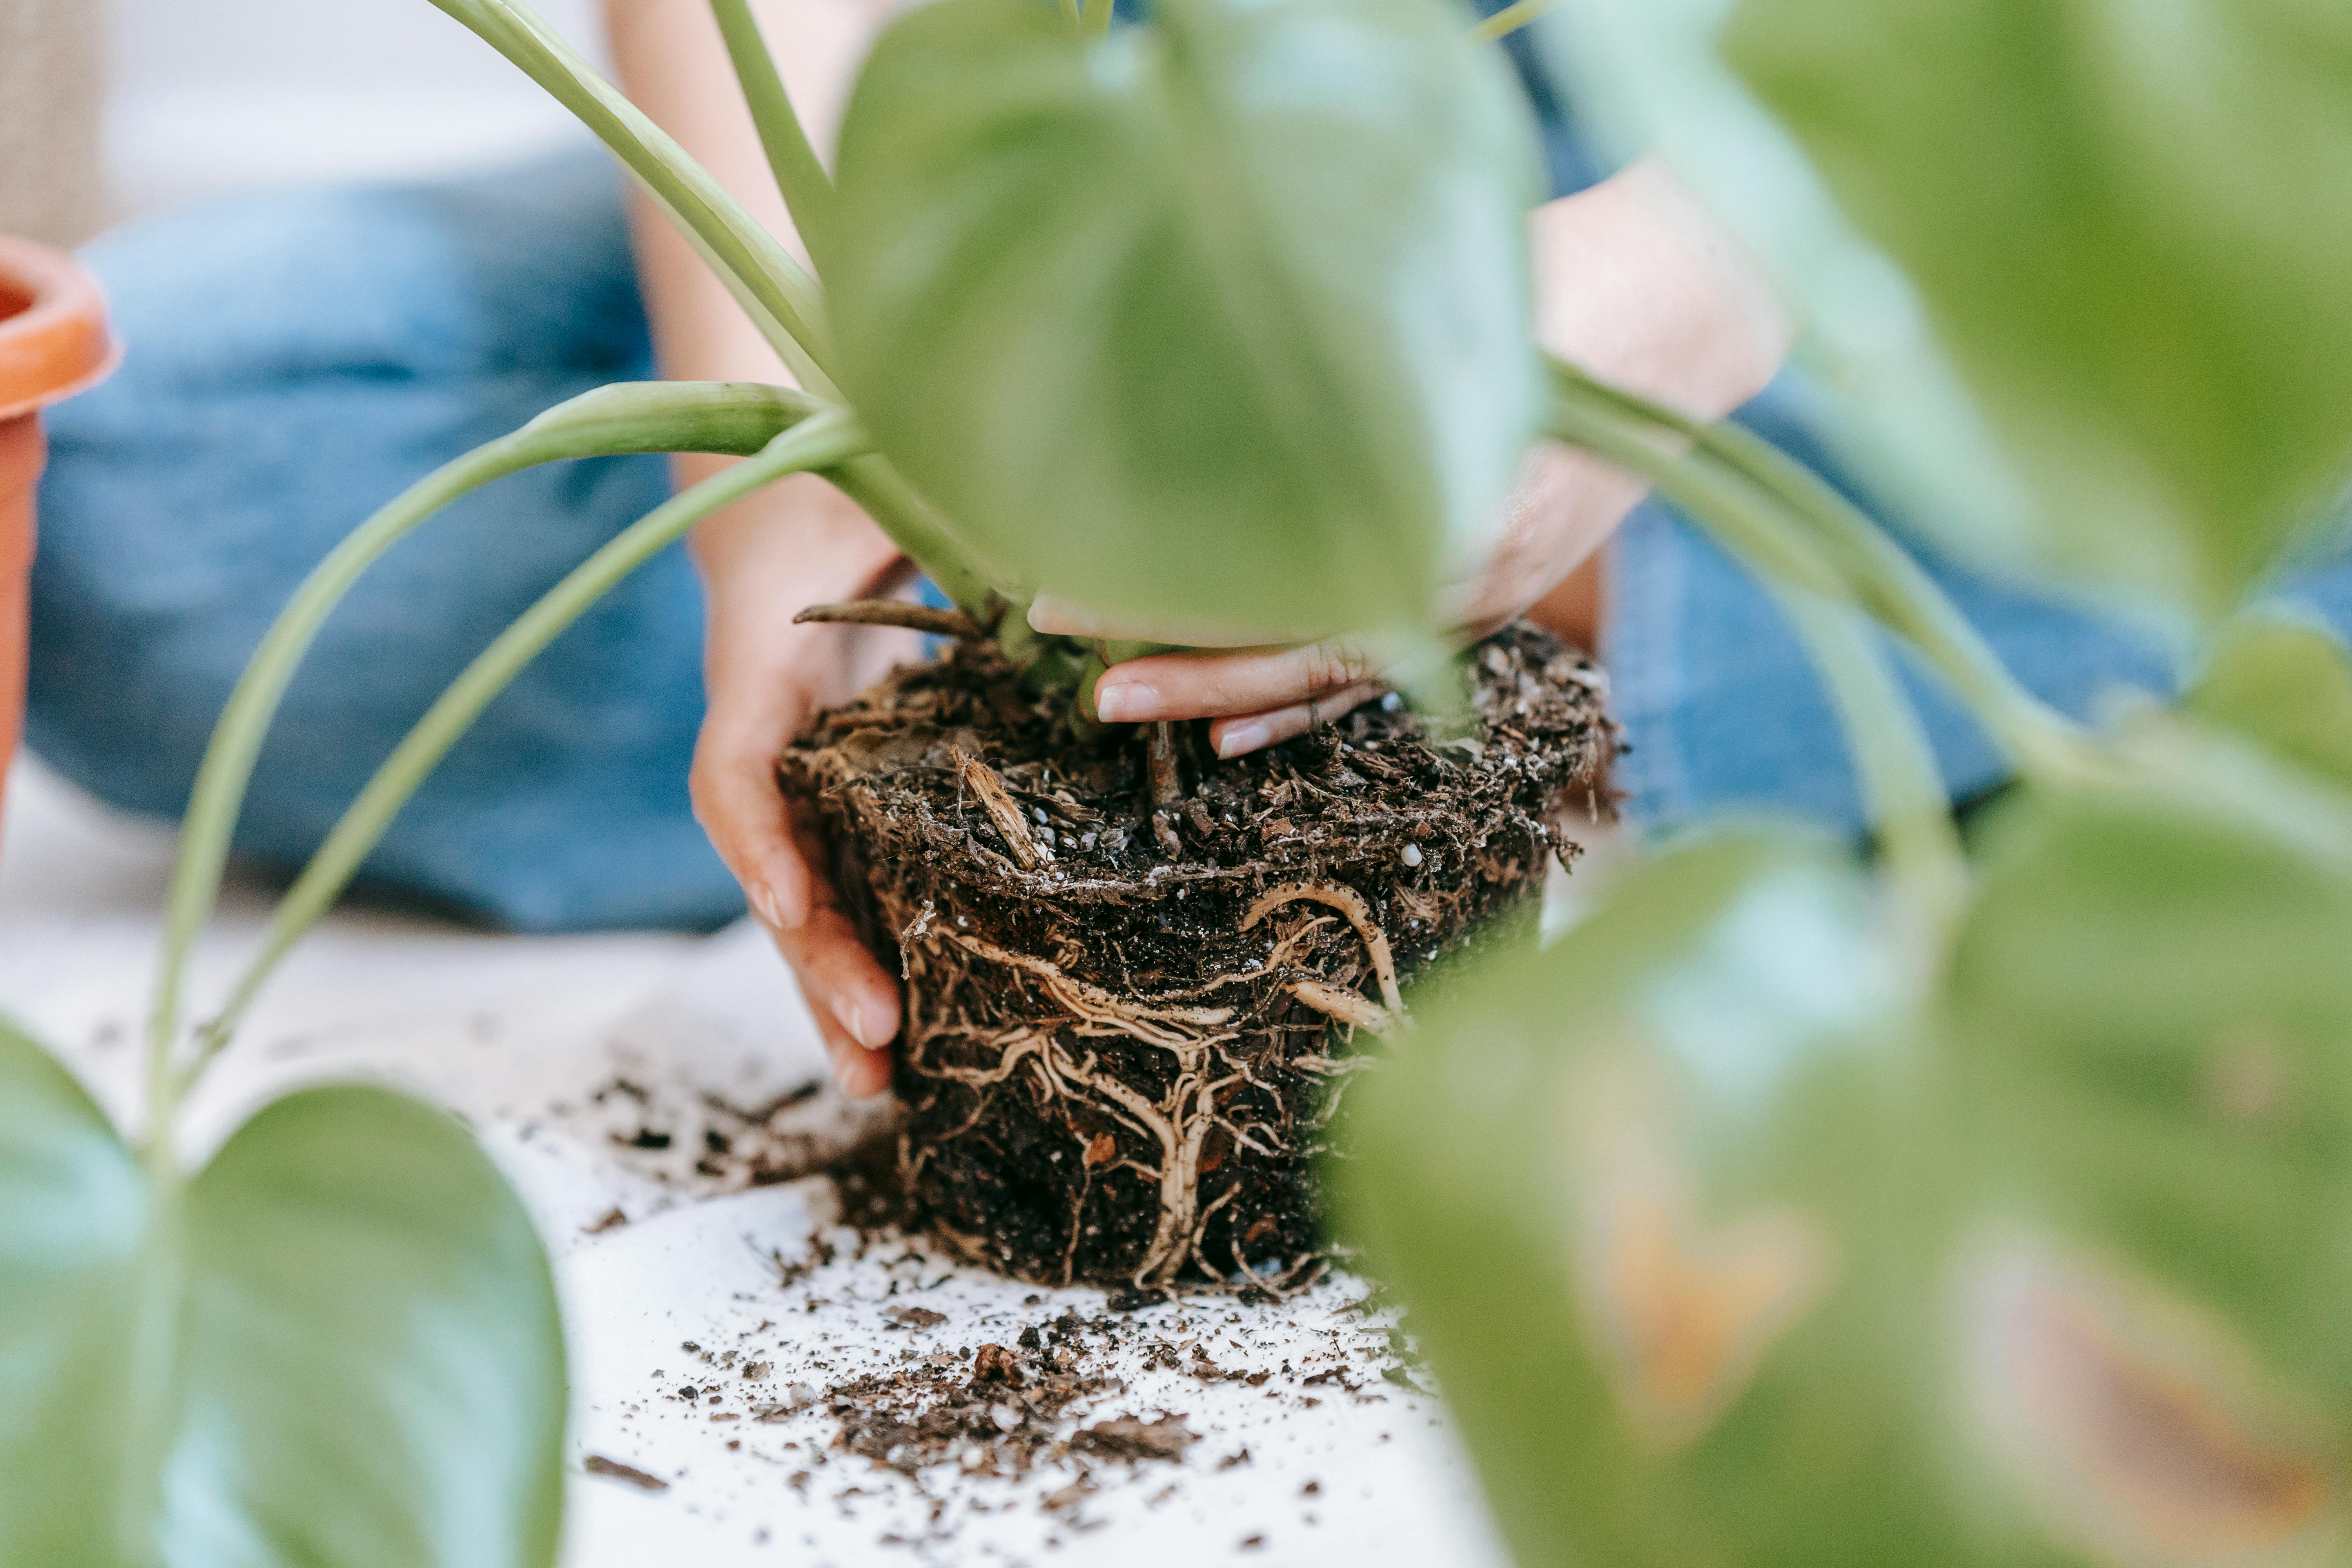
Once the soil is prepared, you can begin planting your bare root perennials. Place each plant in a hole that is slightly larger than its roots and fill in with soil around the edges of the hole. Gently press down on the soil around each plant to ensure good contact between it and its new home. Water each plant thoroughly after planting to help them get off to a good start.
Finally, mulch around your newly planted bare root perennials with an organic material such as wood chips or straw. This will help keep moisture levels consistent and prevent weeds from taking over your garden beds. With proper care, these hardy plants will provide you with years of beauty and enjoyment!

How to Plant a Divided Clump of Perennials
Divided clumps of perennials can be a great way to add more color and texture to your garden. With the proper care and attention, these plants can thrive for years to come. To ensure the success of your newly planted clump, here are some tips on how to plant it properly.
Start by preparing the area for planting. Choose a sunny spot in your garden that has good drainage and is not prone to standing water. Dig a hole that is twice as wide as the clump’s root ball and about twice as deep. If you are planting multiple clumps, space them out at least six inches apart.
Next, place the clump in the hole and spread out its roots. Back fill the hole with soil, making sure that it is firmly packed around the roots. Water generously after planting to help settle the soil and give your new perennial some much needed moisture.
Finally, add a layer of mulch around the base of your new clump. This will help keep weeds away and retain moisture in hot weather. If you live in an area with cold winters, you may want to add additional mulch after the first hard frost to protect your plant from freezing temperatures.
With these simple steps, you can easily plant a divided clump of perennials in your garden and enjoy its beauty for years to come!
Covering and Watering Newly Planted Bare Root Perennials
When planting bare root perennials, it is important to provide the right conditions for them to establish and thrive. Covering and watering newly planted bare root perennials is the best way to ensure that they get the right amount of protection from the elements.
Covering newly planted perennials with a light mulch or straw can help retain moisture in the soil and protect the roots from extreme temperatures. This will also help keep weeds at bay, reducing competition for resources. Once the plants are established, mulch can be removed or left in place to aid in weed control.
Watering newly planted bare root perennials is essential for their survival. Water them deeply, as this encourages deep root growth which is an important part of establishing a healthy perennial garden. After planting, water weekly in spring and fall; during summer months water twice a week if there is no rain.
Once established, most perennials need very little attention except for occasional weeding and trimming of dead or damaged foliage. With proper coverings and watering techniques, your perennials should have no trouble thriving in your garden for many years to come!
Mulching Newly Planted Bare Root Perennials
Mulching is an important step in establishing newly planted bare root perennials. It helps to protect the plants from temperature extremes, conserve soil moisture, and reduce weed growth. When mulching, make sure to use the right type of mulch for the plant’s needs. Organic mulches like wood chips, straw, and bark are best for perennials as they break down over time and enrich the soil. Inorganic mulches like gravel or stone last longer but do not provide any nutrients to the soil.
To properly mulch your newly planted perennials, start by removing any weeds or debris from around the plant’s base. Spread a 2-4 inch layer of organic mulch evenly around the plant’s root zone but avoid piling it up against the stems or crown of the plant. Water the plants deeply after planting and then apply a light layer of mulch over top to help retain moisture and keep weeds at bay. Make sure to check annually for signs of disease or pests and reapply fresh mulch as needed.

Conclusion
Planting bare root perennials is an easy and affordable way to update your garden. It is important to select the right plants for your location, soil, and climate. Once you have the right plants, it is easy to get them planted in the right spot and prepared for success. Be sure to choose a spot with good drainage and well-prepared soil. Dig a hole that is two times as wide as the roots of the plant and just deep enough so that it can be planted level with the soil line. Add some compost or fertilizer to give your perennials a healthy start. Water regularly to ensure that your plants have enough water and help them become established in their new home. With minimal effort, you can add beautiful perennials to your garden this growing season!
Happy planting!

