Have you ever thought about planting a plum seed indoors? It can be a rewarding and enjoyable experience! Growing a plum tree from a seed is relatively easy, and with the right knowledge and the right supplies, you can start your own little plum orchard with your own home-grown seedlings. In this article, we will discuss the process of planting a plum seed indoors step by step.To plant a plum seed indoors, you will need the following supplies:
– Plum seed
– Potting soil
– Wide, shallow pot with drainage holes
– Watering can or other container for watering
– Plant label markers and pencil (optional)
Prepare the Soil
Before planting plum seeds, it is important to prepare the soil. Start by selecting a potting mix that is light and well-draining. If planting directly into the ground, mix in a generous amount of compost or aged manure to create a nutrient-rich soil. Make sure the soil pH is between 6 and 7 for best results. If necessary, adjust the pH level with sulfur or lime.
Container for Planting
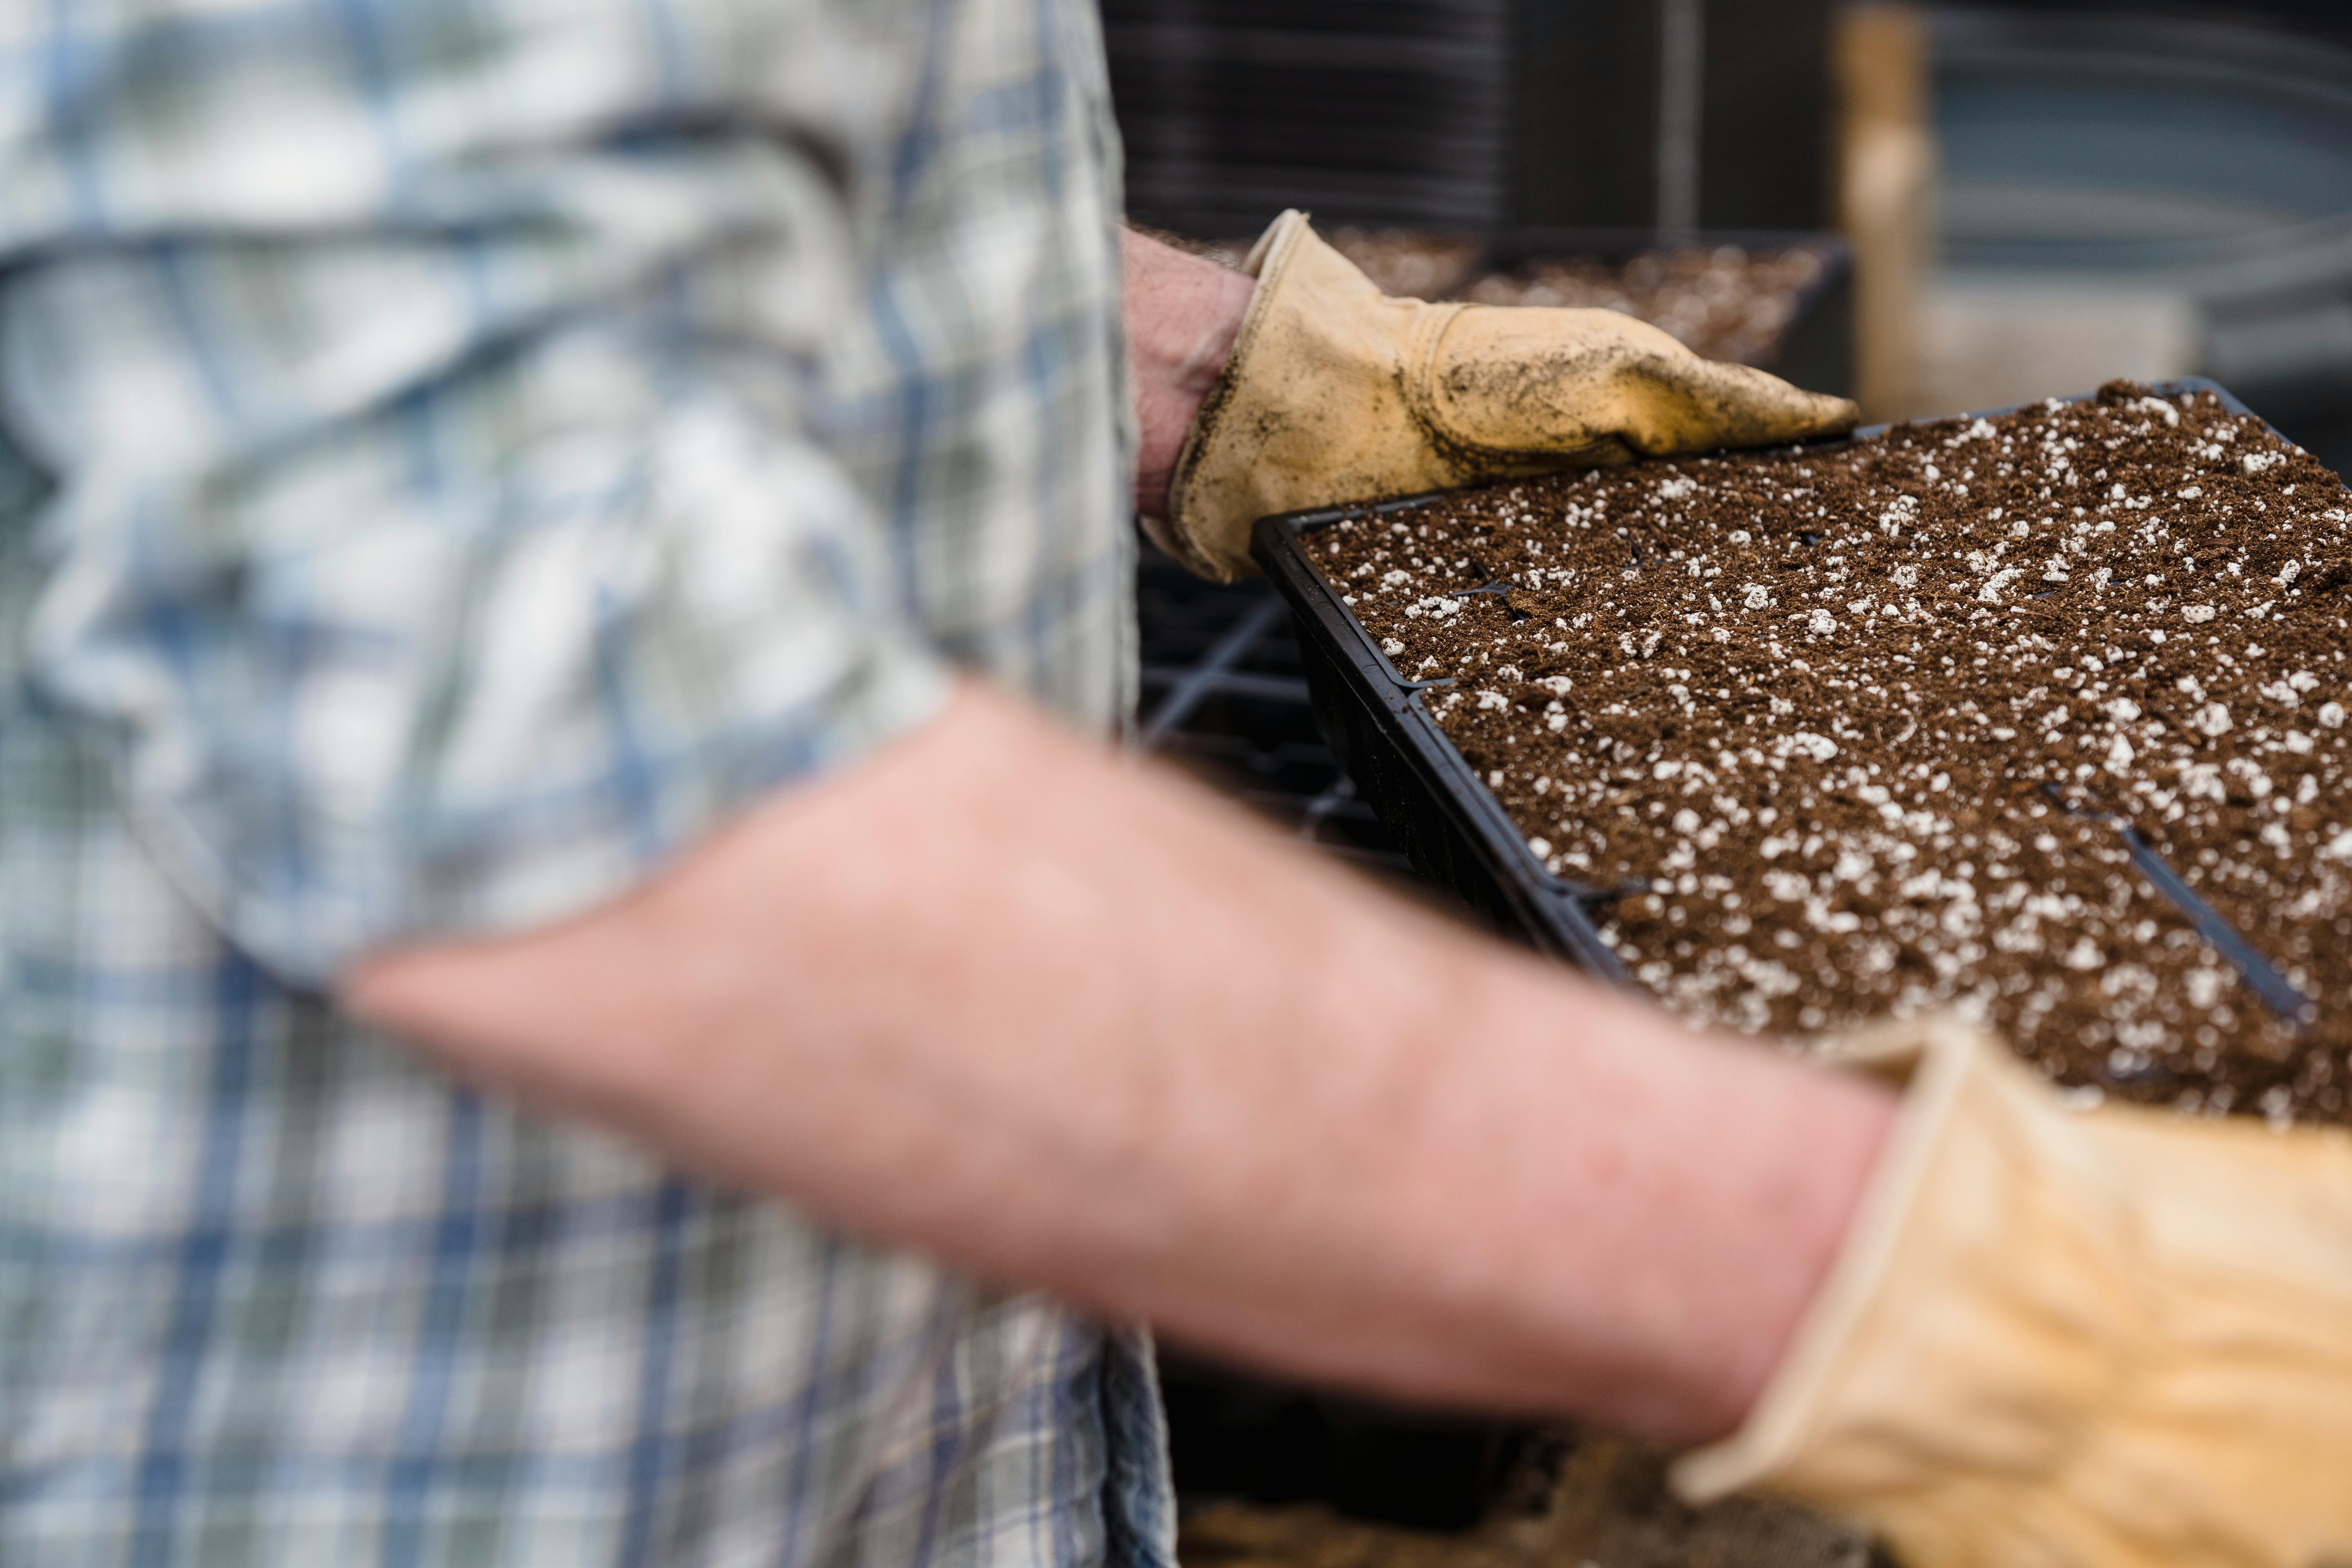
The container used for planting should be large enough to allow room for growth. A pot or planter with plenty of drainage holes is ideal. Line the bottom of the container with gravel to ensure proper drainage and fill it with prepared soil up to 2 inches below the rim of the pot. Once filled, water thoroughly until moisture begins to drain from the bottom.
Planting the Plum Seed
Once the soil and container are ready, it’s time to plant your plum seeds! Place one seed per pot or planter at least 1 inch deep in the soil, making sure there is adequate space between each seedling. Cover lightly with more soil and gently press down to ensure good contact between seed and soil. Water again until moistened and place in an area that receives full sun during most of the day.
Planting the Plum Seed Correctly in the Container
Planting a plum seed correctly in a container is an important step to ensure that your plant grows healthy and strong. Before planting, it is important to select a good quality potting mix or soil that is well draining and has good aeration. The soil should have adequate fertilizers and nutrients for the seedling to grow. Additionally, make sure that the container you are planting in has adequate drainage holes and is large enough for root growth.
When you are ready to plant, take your seed and place it into the container making sure it is planted at least one inch deep into the soil. Once planted, lightly cover the seed with soil and then water it thoroughly. It is important not to over-water or under-water the seed as this can hinder root development. After watering, place your container in an area that receives plenty of sunlight or artificial light from grow lights if needed.
Once your plum tree starts to develop leaves, it will need additional care and attention. Make sure to keep your tree well watered but not over-watered while also fertilizing it with nutrients as needed. If there are any pest issues or disease problems, they should be addressed quickly so as not to damage your new tree’s health. With proper care and attention, your plum tree will be able to thrive in its new home!
Moisten the Soil Around the Plum Seed
Plum trees require moist soil in order to grow and thrive. Before planting a plum seed, it is important to moisten the soil around it. This can be done by adding water or mulch to the area where you plan to plant the seed. The water should be applied at a rate of about one inch per week. If you are using mulch, make sure that it is evenly distributed and not clumped up in one area. Once the soil is adequately moistened, you can begin planting your plum seed. Be sure to dig a hole that is deep enough for the seed and surrounding soil to fit in comfortably. After planting, continue to water regularly until the seed has taken root and established itself in its new environment.
Placing the Containers in a Suitable Location
When placing containers in a suitable location, it is important to consider the type of material that will be stored in them and the purpose for which they will be used. For example, if a container is going to be used for storing hazardous materials, it should be placed in an area that is well ventilated and away from people and other objects. On the other hand, if the container will store non-hazardous materials, it can be placed in an area with less ventilation, as long as it does not pose a safety risk. Also, when placing containers in an area where they are likely to come into contact with people or animals, it is important to ensure that the materials inside are safe and non-toxic.
It is also important to consider the amount of space available when deciding on where to place containers. If there is not enough room for all of the containers that need to be stored in a particular area, then it may be necessary to utilize multiple locations or look into alternate storage solutions such as shelving units or modular drawers. Additionally, if there are any obstructions near the intended location of the containers, such as trees or buildings, these should also be taken into account when deciding on where to place them. Lastly, when selecting a spot for storing containers outdoors or in an open area, make sure that there is enough clearance so that they do not get damaged by wind or rain.

Monitor and Maintain Soil Moisture and Temperature of the Plum Seed
Maintaining the appropriate soil moisture and temperature levels are essential for successful plum seed germination. Too much or too little moisture will affect the health of the seed and its subsequent growth. The ideal soil temperature for optimum plum seed germination is between 70-80°F (21-27°C). In addition to this, soil moisture should be monitored regularly to ensure that it is not too wet or dry. Proper drainage should be maintained, as saturated soils can lead to poor germination. If necessary, irrigation can be used to supplement natural rainfall.
Soil testing can also help to determine an ideal soil moisture level for a particular variety of plum seed. This test will measure the amount of water in the soil by weighing a sample before and after it has been dried out. A range of 8-12% water content is recommended for optimal growth. If the soil contains more than 12% water, it may need to be amended with sand or gravel to improve drainage capabilities. If it contains less than 8%, additional irrigation may be necessary.Regular monitoring and adjustment of both temperature and moisture levels is important for successful plum seed germination and healthy growth.
Fertilize the Plum Tree When Needed
Fertilizing your plum tree is essential for getting a good harvest. When it comes to fertilizing, timing is everything. You should apply fertilizer to your plum tree at the right time, and in the right amount.
The best time to fertilize your plum tree is early spring, when the buds are starting to form but before the leaves have emerged. This will ensure that the soil has enough nutrients for the new growth and that your tree will have a healthy start to the season. You can also give your tree a boost during early summer when it’s producing fruit and needs additional nutrients for optimal growth.
When choosing a fertilizer for your plum tree, look for one with a balanced ratio of nitrogen, phosphorus, and potassium. These three elements are essential for healthy growth and fruit production. Make sure to read and follow the instructions on the label carefully when applying fertilizer so you don’t apply too much or too little. Over-fertilizing can be just as damaging as under-fertilizing so it’s important to get it right!
Finally, make sure you water your plum tree well after fertilizing so that the nutrients can be absorbed into the soil. This will help ensure that your tree gets all of the nutrients it needs and will help maximize its productivity.
Fertilizing your plum tree is essential for getting a good harvest, so make sure you follow these tips to ensure that you get maximum yield from your trees!
Prune and Train the New Plum Tree
When it comes to pruning a new plum tree, it is important to remember that the goal is to train the tree’s branches to grow in the desired shape. Pruning the plum tree should be done shortly after planting and then again during the dormant season. The goal of pruning is to promote healthy growth and encourage fruit production.
When pruning a new plum tree, start by removing all dead, diseased, or damaged branches. This will help prevent disease from spreading and will help keep your tree healthy. Additionally, remove any crossing or rubbing branches as well as any branches that are growing in an undesirable direction.
Next, prune back any long shoots or branches that are competing for light with other parts of the tree. Aim for a balanced canopy shape with an even distribution of foliage throughout. This will help ensure that each branch receives adequate sunlight for vigorous growth and fruit production.
In general, aim to leave about two-thirds of the plant’s foliage intact when pruning a new plum tree. This will ensure that there is still ample foliage on the plant while still allowing light to penetrate through its canopy. Finally, make sure to use sharp pruning shears when cutting back your plum tree’s branches – this will help reduce damage to the plant and encourage healing.
Once you have finished pruning your new plum tree, it is important to provide it with adequate training support in order to promote healthy growth and development. Staking or tying down branched can be used to direct their growth in desired directions and helps keep them upright as they grow taller and heavier with age. Additionally, training wires can be used for more complex shapes or more permanent support structures such as espaliering or fan-training techniques – these are especially useful for small spaces like balconies or patios where space is limited but you still want a nice looking plum tree!
With proper care and attention your new plum tree will soon become a beautiful addition to your landscape!

Conclusion
Planting a plum seed indoors is an easy and rewarding process. With the right soil, container, and light source you can have a thriving plum tree in no time. It’s important to keep the soil moist and well-drained, provide plenty of sunlight, and provide adequate airflow for the plant. As your plum tree matures it will produce beautiful flowers in the spring followed by juicy plums in the summer. With proper care and attention your indoor plum tree can provide you with delicious fruit for many years to come.
Growing a plum tree from a seed is an exciting experience that can bring joy to any gardener. Whether you’re growing your own fruit or just looking for something new to do indoors, planting a plum seed is an enjoyable activity that you can enjoy for years to come.

