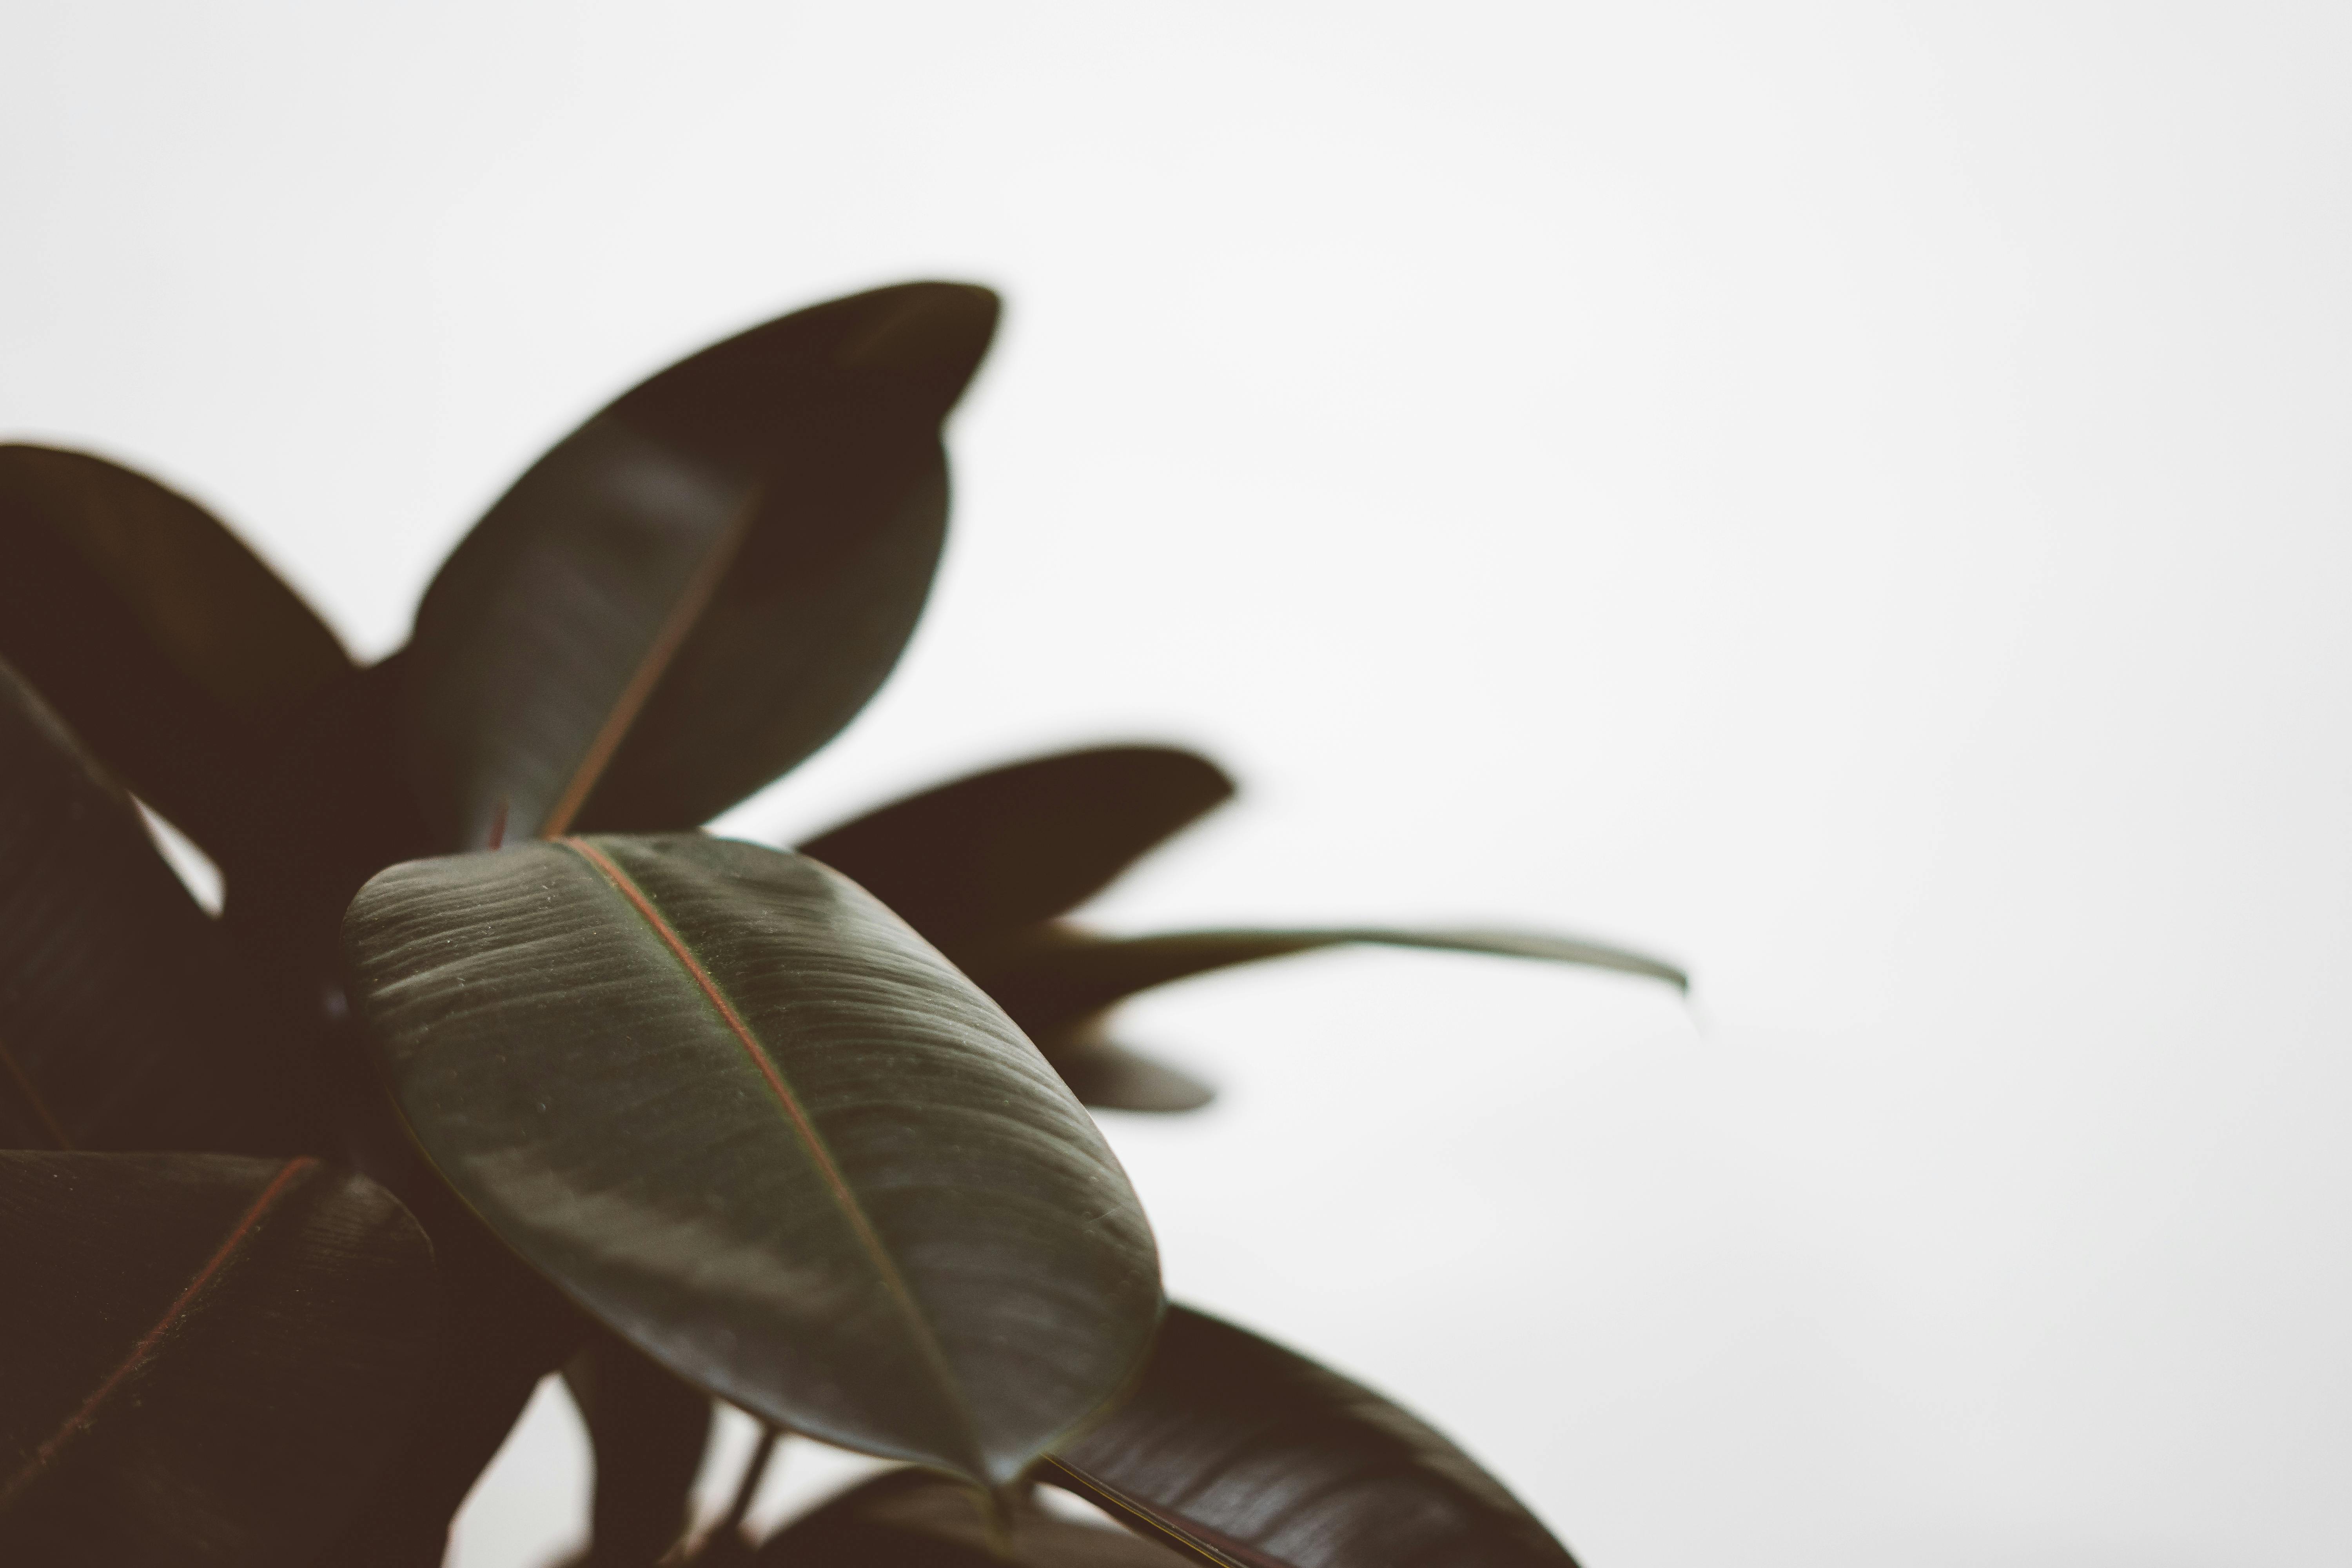
Repotting a rubber plant is an essential part of its care routine. Doing this periodically helps ensure that your rubber plant will stay healthy and look its best. It is important to know the proper way to repot a rubber plant, as it can be tricky to do without causing any damage to the delicate root system. In this guide, we’ll walk you through the steps of how to repot a rubber plant so that you can keep your houseplant looking beautiful and thriving for years to come.Before repotting a rubber plant, there are a few things you should keep in mind. First, rubber plants prefer to be slightly pot-bound, meaning they don’t need to be re-potted very often. Ideally, you should wait until the roots have filled the pot and become slightly crowded. If you’re noticing your rubber plant growing too quickly or becoming top-heavy, then it may be time to re-pot.
When you do decide to re-pot your rubber plant, make sure to use a pot that is only slightly larger than the current one. This will provide enough room for new roots while also keeping the plant root-bound. Use a well draining potting soil with an equal amount of sand and peat moss mixed in. And be sure to keep your rubber plant in partial shade and avoid direct sunlight when re-potting it.
Finally, when re-potting your rubber plant be gentle with the roots and try not to disturb them too much. When placing your plant into the new pot, make sure the soil level is about an inch lower than where it was previously planted. This will give the new roots some space to spread out as they grow.
Choosing The Right Pot For Your Rubber Plant
When it comes to choosing the right pot for your rubber plant, there are a few things to consider. First, the size of the pot should be appropriate for the size of your plant. A pot that is too small can lead to root rot and other issues, while a pot that is too large can cause your plant to become over-watered and prone to disease. It is best to use a pot just slightly bigger than the root ball of your plant.
The material of the pot is also important. Rubber plants prefer terracotta or ceramic pots because they allow excess moisture to evaporate more quickly than plastic or metal pots. This reduces the risk of over-watering and encourages healthy root growth. The colour of the pot also matters – dark coloured pots absorb more heat from sunlight and can cause roots to dry out quickly, so it’s best to go for lighter shades such as white or cream.
Finally, make sure that you have drainage holes in the bottom of your pot so that any excess water can escape and not sit at the bottom and cause root rot. You can also add a layer of gravel at the bottom of your pot before adding soil to help with drainage as well as keeping moisture away from your plants roots.
All in all, finding the right sized and materialized pot for your rubber plant will help ensure its growth and health for years to come!
Checking For Root Damage On The Rubber Plant
When it comes to the health of your rubber plant, one of the most important things to check is for damage to its roots. Without healthy roots, your rubber plant will not be able to access the nutrients it needs to thrive. It can be difficult to tell if your rubber plant’s roots are damaged since they are hidden below ground. However, there are a few signs that you can look out for that may indicate root damage.
One sign of root damage is wilting leaves. If you notice that your rubber plant’s leaves are wilting or dropping off, this could be a sign that its roots are not getting enough water or nutrients. This could indicate root rot, which is a common problem with rubber plants.
Another sign of root damage is discolored leaves. If the leaves on your rubber plant appear yellow or brown, this could be indicative of an issue with its roots. This could mean that there is not enough oxygen being delivered to the roots, which can cause discoloration in the leaves as well as stunted growth.
Finally, if you notice any fungi growing around the base of your rubber plant, this could also be an indication of root damage. Fungi thrive in moist environments and can begin to grow if there is too much moisture in the soil around your rubber plant’s roots. This can lead to further damage and should be addressed as soon as possible in order to protect your rubber plant’s health.
If you observe any of these signs on your rubber plant, it is important to take action as soon as possible in order to prevent further root damage and ensure that it has access to all the nutrients it needs in order to thrive.

Re-Potting The Rubber Plant Into Its New Pot
Re-potting a rubber plant is an important part of keeping it healthy and vibrant. It is recommended to re-pot the plant every few years, or whenever the plant has outgrown its current pot. Re-potting the rubber plant into a new pot is not difficult and can be done with minimal effort.
The first step in re-potting the rubber plant is to choose the right size pot for the plant. The new pot should be slightly larger than the old one, as this will give the roots more space to spread out. It’s also important to make sure that there are drainage holes in the bottom of the pot so that excess water can escape.
The next step is to prepare the soil for re-potting. Rubber plants prefer a soil that is well draining, so a mixture of equal parts of perlite and peat moss can be used. To ensure that your rubber plant has enough nutrients, you can also add some fertilizer to the soil mixture before adding it to the pot.
Once you have prepared your soil mixture, it’s time to re-pot your rubber plant into its new home. Carefully remove your rubber plant from its old pot and loosen any roots that may have become entangled or matted together. Place your rubber plant into its new pot and fill with soil until it reaches just below where your rubber plant’s original soil line was located. Gently pat down any loose soil around your rubber plant and water thoroughly until water begins to drain from the bottom of your pot.
Finally, place your newly re-potted rubber plant in an area where it will receive bright but indirect sunlight and allow it to adjust for a few days before resuming its regular watering schedule. With proper care, you can ensure that your rubber plants stay healthy and thrive for many years!
Watering The Newly Repotted Rubber Plant
Watering a newly repotted rubber plant is an important part of its care. It is important to water it regularly to ensure that the soil stays moist and does not dry out. The best way to do this is to water the plant thoroughly, allowing the water to penetrate the soil deeply. It is also important to let the soil dry out slightly between watering sessions. This will help reduce the risk of root rot and other diseases. Additionally, it is important to use lukewarm or room temperature water when watering your rubber plant as cold or hot water can shock the roots and cause damage.
Fertilizing The Newly Repotted Rubber Plant
Fertilizing your newly repotted rubber plant can help promote healthy growth and development. It is important to choose a fertilizer that is appropriate for your particular type of plant, as different types of plants require different nutrients in order to thrive. In general, most rubber plants prefer a balanced fertilizer with equal amounts of nitrogen, phosphorus, and potassium. Additionally, it is important to follow the instructions on the fertilizer package carefully in order to avoid overfertilizing your rubber plant. Finally, it is best to fertilize your rubber plant every two weeks during its growing season for optimal health and growth.
Monitoring Your Rubber Plant After Repotting It
After repotting your rubber plant, it is important to monitor it carefully for the first few days and weeks. During this time, you need to make sure that your plant is getting enough water and sunlight. You should also check for any signs of shock or stress as this could lead to the death of your plant.
Make sure that the soil around your plant is moist at all times. If it does not appear to be moist enough, then you should water it more frequently. Also, be sure to check the drainage holes in the bottom of the pot to make sure that they are not blocked or clogged with debris. If they are, then you should carefully remove them and replace them with new ones.
It is also important to make sure that your rubber plant is receiving enough sunlight each day. If it does not receive enough sunlight, then it may become weak and unhealthy over time. If possible, place your rubber plant near a window or other source of natural light so that it can get as much sunlight as possible.
Finally, keep an eye out for any signs of shock or stress in your rubber plant. These include wilting leaves, yellowing foliage, stunted growth, or any other signs that indicate something could be wrong with your plant. If you notice any of these symptoms in your rubber plant after repotting it, then you should contact a specialist as soon as possible for help and advice on how best to care for your new potted plant.

Conclusion
Repotting a rubber plant is relatively easy if you have the right supplies. When repotting, it’s important to choose a pot with drainage holes, use fresh soil, and to have a pair of gardening gloves handy. If you’re repotting an older rubber plant that’s been neglected, it may need some pruning and root trimming prior to repotting. After the repotting process is complete, water your rubber plant and give it some extra love. With proper care and attention, your rubber plant will be thriving in no time.
When it comes to repotting houseplants, understanding how to properly care for them is key. With just a few simple steps, you can repot your rubber plant with confidence and help keep it looking healthy and beautiful for years to come.

