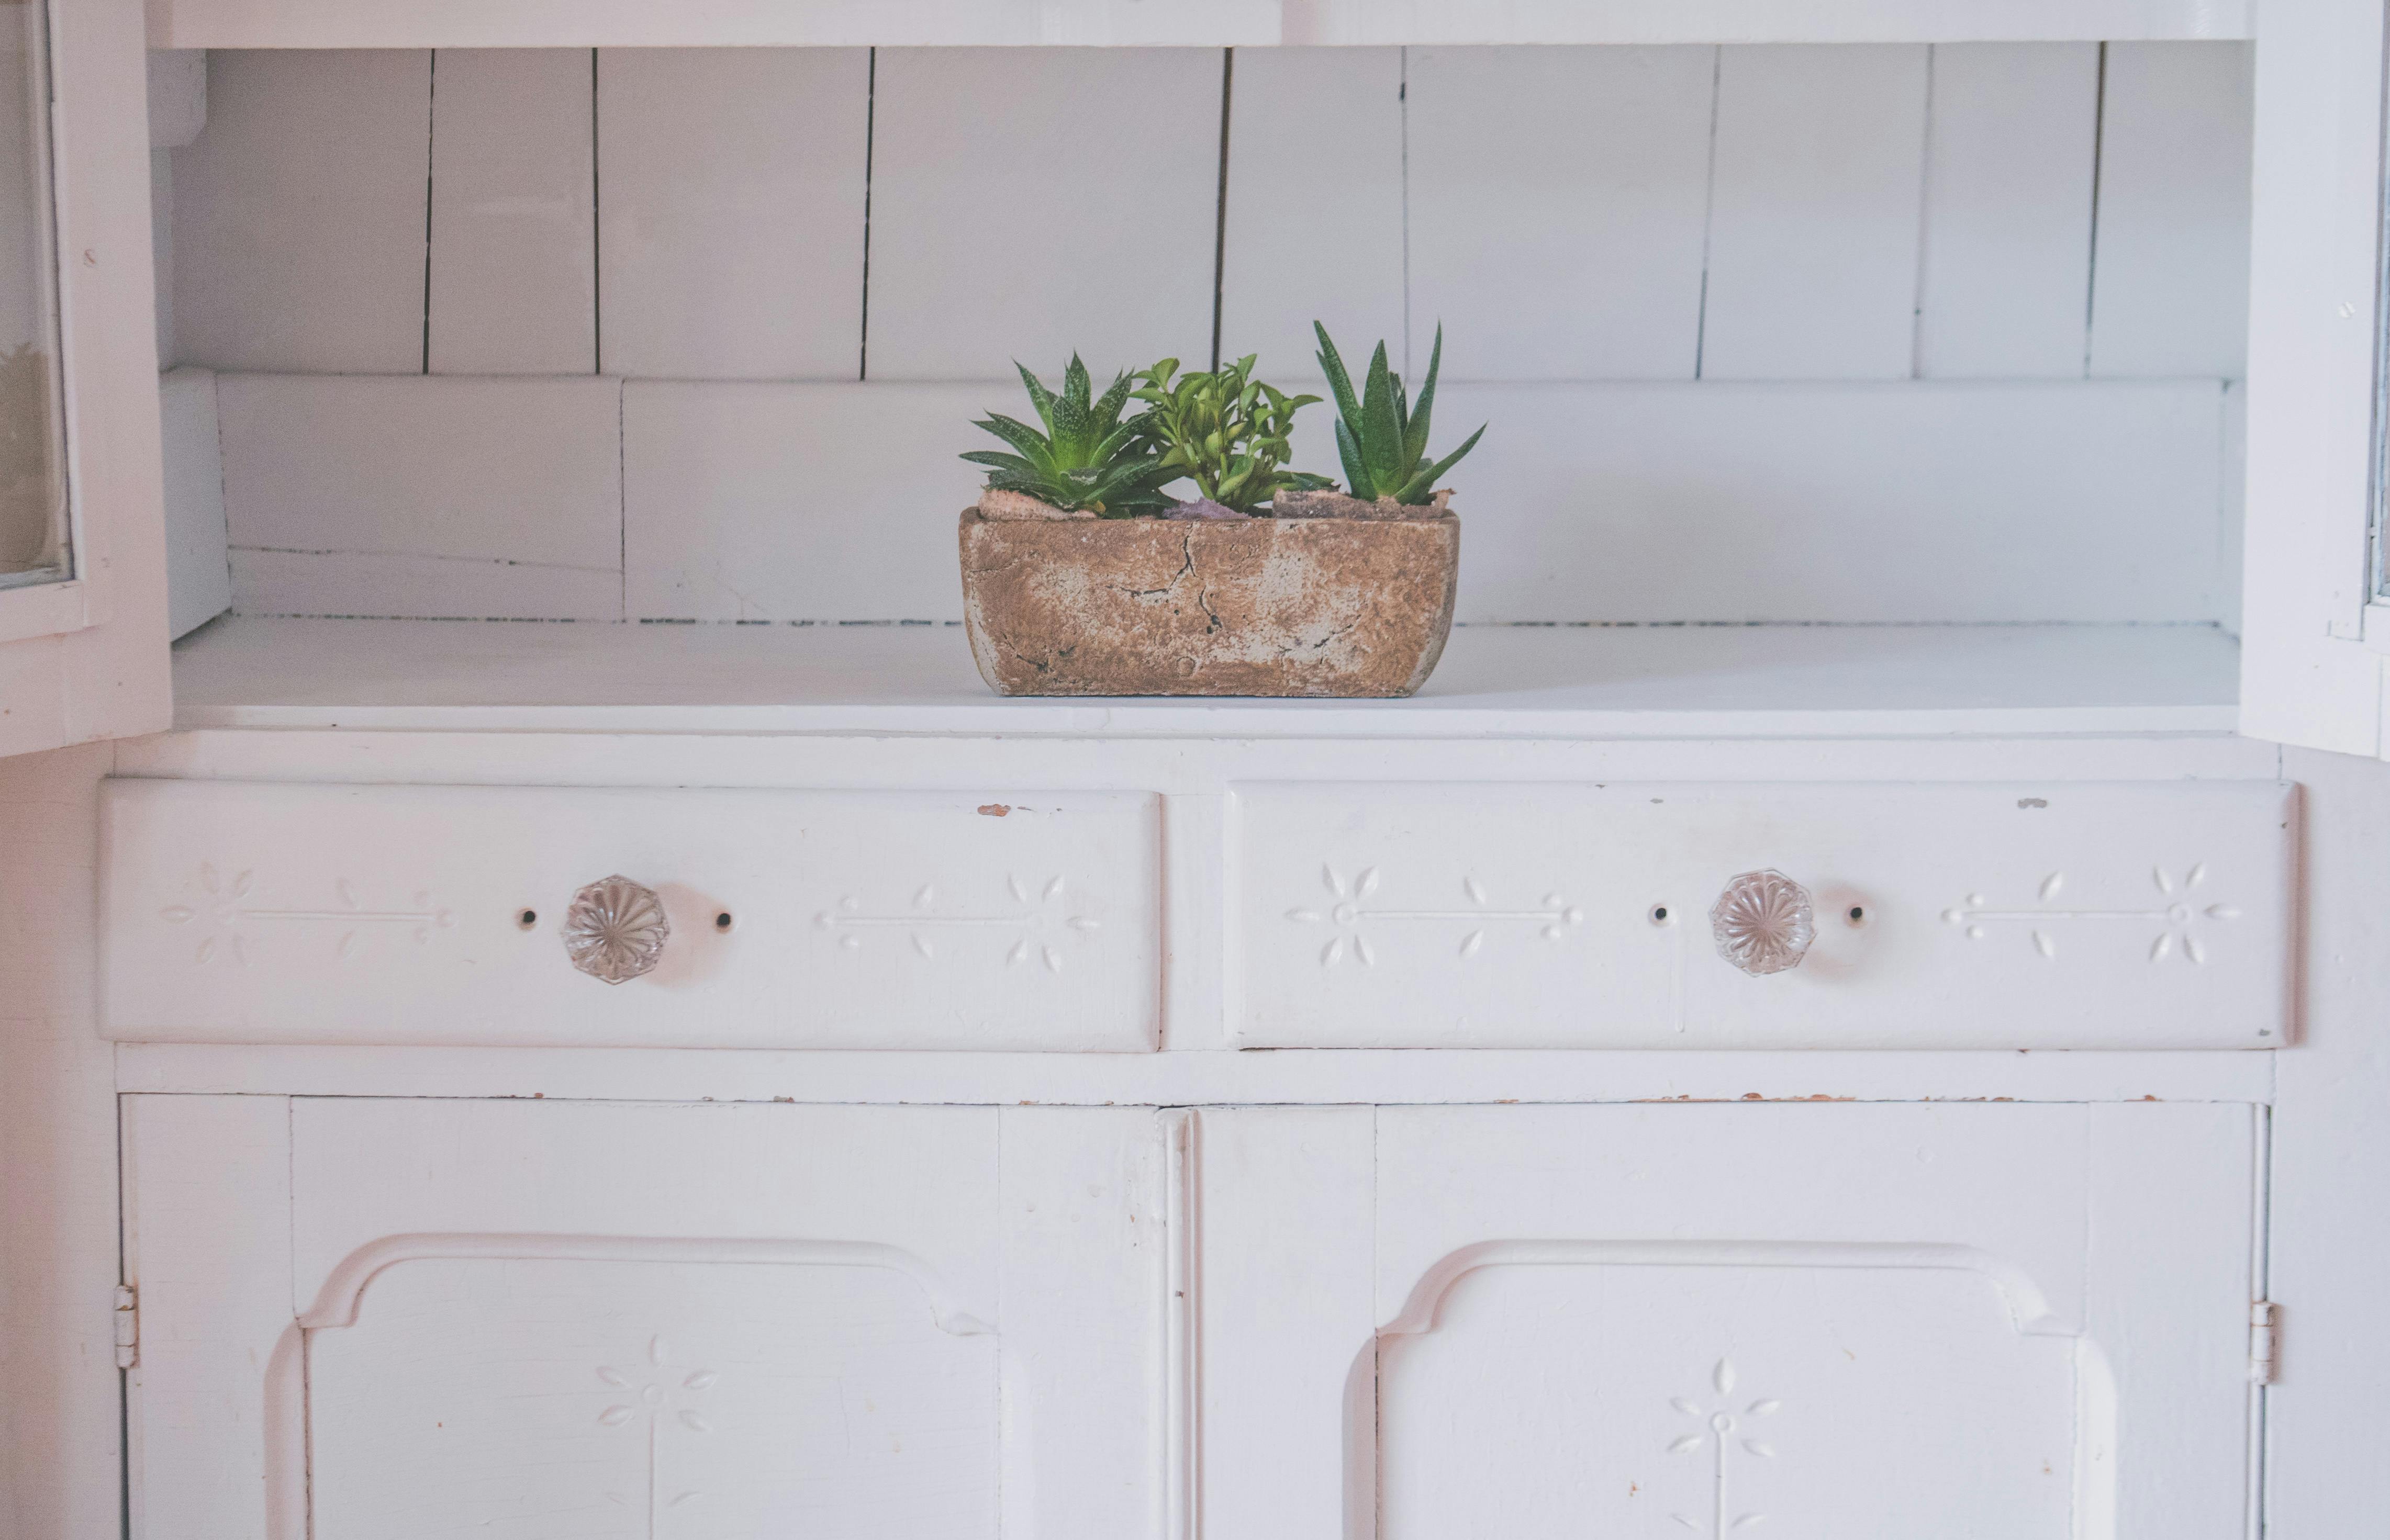
Repotting an Aloe plant is a simple task that can help ensure the health of your plant. Aloe plants do not need to be repotted very often, but when they do, it is important to follow the right steps. This article will explain how to properly repot an Aloe plant and provide helpful tips for keeping your Aloe thriving.You will need the following items to repot an Aloe plant:
– A pot with drainage holes
– Potting soil
– A pair of gardening gloves
– A sharp knife or scissors
– A pair of tongs or a spoon
– A small trowel (optional)
Preparing the Plant for Repotting
Before repotting a plant, it is important to prepare it properly. This process should be done gently and carefully. First, the plant should be removed from its existing container. Any excess soil should be brushed off the roots before attempting to remove the plant from its current pot. If the roots are tightly bound, they may need to be gently loosened by hand before being removed. Once the plant is out of its current pot, any dead or damaged roots should be removed to prevent disease. The original soil can also be checked for pests and other debris, and any that remains should then be discarded.
The next step in preparing a plant for repotting is to inspect it for signs of stress or damage. The leaves and stems should all look healthy with no signs of wilting or discoloration. If any of the branches appear weak or overly brittle, they should be pruned away as well. Finally, if the roots appear very long or tangled, they may need to be trimmed back slightly to make them easier to manage when repotting.
Preparing a plant for repotting is essential for ensuring that it has an optimal environment in which it can thrive. By taking time to assess its condition and make necessary adjustments beforehand, gardeners can ensure that their plants will remain healthy and happy in their new home!
Choosing a Pot for Repotting Aloe Plant
When repotting an aloe plant, it is important to choose the right pot. The pot should be large enough to accommodate the plant’s root system, but not too large that it will retain water for an extended period of time. Aloe plants are native to dry climates and prefer well-drained soil. To ensure that the soil drains properly, it is important to select a pot with several drainage holes at the bottom. Clay pots are an ideal choice as they allow for good air circulation and help keep the soil dry. Additionally, these types of pots can easily be moved around if needed.
When selecting the size of a pot for repotting an aloe plant, it is important to consider the size of the root system and growth potential of the plant. Generally speaking, a pot should be about 2-3 inches wider and deeper than where aloe’s roots currently reside. This will provide plenty of room for growth while still allowing adequate drainage. Additionally, if you plan on keeping your aloe outdoors in warmer climates or during summer months, opt for a slightly larger pot to allow for further growth and stability during windy conditions or storms.
Removing an Aloe Plant from Its Current Pot
To remove an aloe plant from its current pot, begin by turning the pot upside down and gently tapping it on the side. This should loosen the soil and roots from the sides of the pot. If necessary, use a butter knife or other thin object to carefully break away any remaining soil that is stuck around the edges of the pot. Once you have loosened all of the soil, slowly turn the pot upright and carefully slide out the aloe plant. If it does not come out easily, you may need to use a pair of gloves to carefully grip and pull out the plant.
Once you have removed your aloe plant from its current pot, inspect it for any signs of disease or damage as well as any root systems that may have become bound together in a tangled mess. Gently untangle these roots with your fingers or a pair of scissors if needed. If there are any dead or damaged leaves, trim them off with clean scissors before replanting in fresh soil.
Finally, take your aloe plant and place it into a new container filled with fresh cactus soil mix. Firmly pack down the soil around each root and lightly water to help settle it in place. Place your newly potted aloe plant in an area where it will receive indirect light and allow to drain for about 20 minutes before fully watering again.
Preparing the Soil
When repotting an Aloe plant, the first step is to prepare the soil. The best soil for Aloe plants is a well-draining, loamy soil mix. A good mix can be made from equal parts of potting soil, coarse sand, and perlite or vermiculite. If you don’t have access to these materials, you can purchase a pre-made cactus or succulent potting mix. Make sure to read the label for specific instructions on how to use it. Before adding the soil to the pot, wet it thoroughly and let it drain for a few minutes before adding it to the pot.
Fertilizing Your Plant
Aloe plants do not need frequent fertilizing. When fertilizing an Aloe plant, use a liquid fertilizer formulated specifically for cacti and succulents at half strength. This should be done about once every two months during growing season but can be skipped during winter months when growth is slower. Be careful not to over-fertilize as this can harm your plant.
Finally, when you have finished repotting your Aloe plant make sure to water it thoroughly and keep it in a spot with indirect sunlight until new growth appears. With proper care and maintenance your Aloe plant will thrive in its new home!

How to Plant the Aloe in Its New Pot
Planting aloe in a new pot is an easy process. Start by selecting a pot that is slightly larger than the existing aloe plant container. Make sure to choose a pot with plenty of drainage holes at the bottom, as aloe plants do not like to sit in wet soil for long periods of time. Remove the existing plant from its current pot, and gently loosen the root ball of the aloe. Place some fresh soil into the bottom of the new container, and then place the aloe’s root ball into it. Fill in with more soil around the sides and press down lightly. Water thoroughly to ensure that all of the soil is moistened and that there are no air pockets around the roots. Allow any excess water to drain out before moving on to adding a layer of mulch or gravel over top of the soil for added protection against weeds and pests.
Finally, place your newly potted aloe in an area where it can receive bright but indirect sunlight. Aloes thrive in warm temperatures, so choose a spot where they will receive plenty of warmth during the day but also have some protection from cooler night air. With proper care, your potted aloe should grow happily for many years to come!
Watering Your Newly Repotted Aloe Plant
Watering your newly repotted aloe plant is the most important part of caring for it. Aloe plants are prone to overwatering, so it is important to make sure you do not water too often or leave them in standing water. The best way to water your aloe plant is to wait until the soil is dry before giving it a deep drink. Once the soil has dried out, give your aloe plant a thorough soaking until water drains from the bottom of the pot. Allow the soil to dry out before watering again.
Maintaining Your Newly Repotted Aloe Plant
When maintaining your newly repotted aloe plant, make sure to keep it in an area with bright, indirect light and good air circulation. Make sure it gets at least 8 hours of indirect sunlight a day. Regularly check for pests such as mealybugs or spider mites and treat with an appropriate insecticide if needed. Fertilize your aloe plant every few months with a balanced liquid fertilizer diluted to half strength for best results. Lastly, make sure you re-pot your aloe plant every two or three years to ensure its health and vitality.
Common Mistakes When Repotting an Aloe Plant
Repotting an Aloe plant can be tricky, and it’s important to get it right. If not done properly, repotting can cause a variety of issues for the plant, including stunted growth or even death. To ensure your Aloe stays healthy and thriving, take care to avoid the following common mistakes when repotting:
Not Choosing the Right Pot: The pot you choose for your Aloe plant will have a big impact on its health. Make sure the pot is big enough to accommodate the roots but not so large that there is too much soil and water. Additionally, make sure the pot has proper drainage holes at the bottom so that excess water can escape.
Failing to Loosen Roots: Carefully loosen up root clusters before repotting your Aloe plant. This will help them expand and grow once they’re in their new pot. Use a fork or spoon to gently separate any roots that are tangled together.
Not Pruning Dead Leaves: Prune all dead leaves off before you repot your Aloe plant. This will help keep it healthy and prevent infection from spreading throughout the entire plant. It’s also a good idea to remove any old soil from around the base of the stem as well.
Using Inferior Soil: Be sure to use quality soil when repotting an Aloe plant. Poor quality soil won’t provide enough nutrients for your plant and may even contain harmful bacteria or fungi that could cause serious damage. Always use a high-quality potting mix specifically designed for succulents like Aloe plants when repotting them.
Overwatering: Overwatering is one of the most common mistakes made when repotting an Aloe plant, as it can cause root rot and other issues down the line. Make sure you don’t add too much water when transplanting your plant into its new home – it should be damp but not saturated with water.

Conclusion
Repotting an aloe plant is a simple process that can help keep your plant healthy and thriving for years to come. It is best to repot aloe plants in the spring or summer when the plant is actively growing. The most important thing to remember when repotting an aloe plant is to not over-water it and to ensure that the soil can drain properly. When choosing a pot, it should be slightly larger than the current pot and have drainage holes. You should also use a soil specifically formulated for succulents and cacti. Finally, you should place your repotted aloe in a spot with plenty of indirect sunlight. With these tips in mind, you’ll have successfully repotted an aloe plant!
Remember: re-potting your aloe every two to three years will help ensure its long-term health and success. If done correctly, you will be rewarded with years of enjoyment from your beautiful and unique plant!

